Friday, April 26, 2024

Pinkfresh Studio - Creating Cards On Dark Backgrounds

 Hello everyone! I am on the Pinkfresh Studio card blog with two cards featuring the Vines and Roses product suite. I normally create pastel, vibrant cards but the dark backgrounds have their own elegance, so I decided to share two card designs.

I used various colors of stripes to add pops of color to this design.

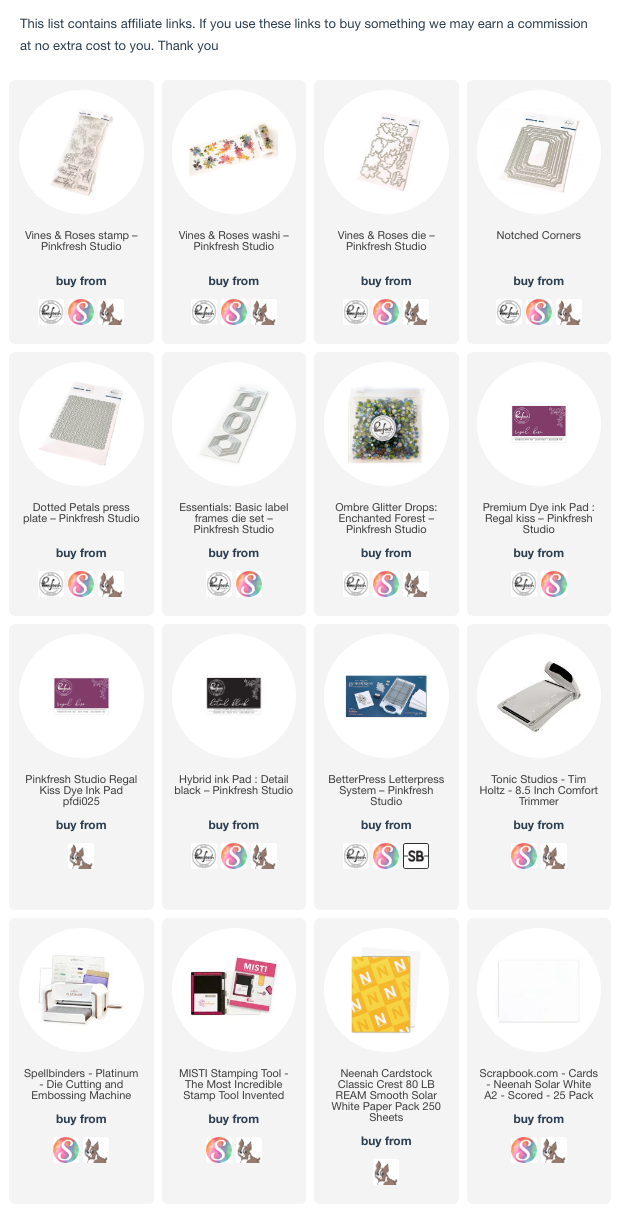
I started by using the Dotted Petals press plate, inked it with Regal Kiss ink and took the impression using the Betterpress Letterpress system. Next, I die-cut this piece using the Notched Corner Frames dies. Adhere the stripes diagonally.

Stamp the images using Vines and Roses stamp onto vellum using versamark ink, sprinkle white embossing powder and heat set. Die-cut using Vines and Roses die.


Add color to some of the leaves and flower using copic markers and create a cluster. Stamp the sentiment using Detail Black ink, die-cut.

Stack three more die-cut for some dimension. To finish, add some Enchanted Forest Glitter Drops.

For the next card I used the Vines and Roses washi tape. I love the rainbow color effect. 

Adhere the washi to a white card, die-cut using the coordinating dies.


Die-cut a vellum label using the Basic Label Frames die set. Adhere the stamped sentiment to it using 3d foam and now adhere the vellum to the panel.


This is such an easy card to make but the gold foiling on washi and the details make it look so elegant.

Thank you for dropping by and have a nice day.

Friday, April 12, 2024

Pinkfresh Studio - Mini Slimline Shaker Card

 Hello everyone! I am on the Pinkfresh Studio blog today with a mini slimline shaker card featuring the beautiful Sakura Stamps, Dies and Stencils. This bundle also comes with beautiful washi, which helps create cards in no time.

To start, I sponged a white panel from top and bottom using the Summer Shower and Seaside inks. Dab seaside ink onto mat and with a wet brush flick some splatters, then add splatters using the White ink. Die-cut this panel using the Mini Slimline Essential Bundle. Next, die-cut a circle from this piece. Adhere this circle piece to the white cardbase.

Stamp the images using the Detail Black ink. Sponge the images using (Sparkling Rose, Raspberry Bliss, Mulberry Blush, Grassy Knoll, Olive, Spanish Moss) inks through the stencils. Die-cut using the dies.

Stamp the sentiment and die-cut it. Adhere a piece of acetate behind the inked panel. Add 3 d foam all around the circle, add some Glitter Drops: Blush and Clear with Gold Dust Gems. Add another piece of acetate to close the shaker window. Adhere this layer to the card.

Using liquid adhesive, insert in the sentiment into the opening. Create the floral cluster as per the liking by adding some parts of the extra images. Adhere these to the card and the shaker card is ready.

Thank you for dropping by and have a nice day!

Friday, March 29, 2024

Pinkfresh Studio - Masculine Cards

Hello everyone! I am on the Pinkfresh Studio blog today and decided to share masculine cards using similar products. I used the Fluttering Butterflies Stamp, Washi, Fluttering Butterflies Dies, Notched Corner Frame dies along with the Stippled Plaid press plate, Happy Vibes Stamp, Happy Vibes Dies.

First I decided to use a soft and happy color palette.


I started by using the press plate with the Betterpress Letterpress System without inking the plate for a soft texture. Next, I used masking technique and sponged inks (Rocky Slope, Sky Blue, Lemon Whip). Inking inks this way enhances the texture of the plate and I love the clean straight lines for a boy card. Adhere this panel to a light blue cardbase. 
 

Next I stamped the image onto vellum using watermark ink, sprinkle opaque white embossing powder, heat set. Die-cut the image. Add color to part of the image using alcohol markers.

Stamp the sentiment from the Happy Vibes stamp set using Detail Black ink, die-cut. Assemble the cluster and adhere the sentiment using 3d foam.


For the 2nd card, I used a bold color palette, still keeping some softness. 
 
 
I applied Stargazer ink to the press plate and used Betterpress system to get the effect. Die-cut this panel using the Notched Corner Frame die and adhere to a blue cardstock. 
 

Die-cut a smaller white panel, sponge Lemon Whip ink to the top and Hydrangea ink to the bottom. Adhere to the card using 3d foam. Adhere the Washi to vellum, die-cut.

 Vellum gives a soft and beautiful look by keeping the washi texture. Create the cluster. Stamp the sentiment using Stargazer and Opulence inks, die-cut and adhere to the card.


Hope these cards gives you some inspiration on how we can easily create masculine cards with very different style by using the similar supplies.

Have a nice day!

Monday, March 25, 2024

Pinkfresh Studio “Artsy Floral” Release

Hello everyone! I am so excited to join the Pinkfresh Studio "Artsy Floral" release. This release is packed with stamps/dies/washi for everyone's liking. 

I am featuring the Fluttering Butterflies today. There are so many beautiful butterflies in various profiles and the leafy twigs really compliments to create gorgeous projects. 

For my first card I used the Fluttering Butterflies stamps and the dies along with the new Notched Corner Frames and Clear Gems with gold dust. I also used some of the previously released products, all are in the list below.

To start, I die-cut a frame using the Ivory Glitter cardstock. Next, take a white panel, sponge Lemon Whip and Sparkling Rose inks. Add gold splatters to this piece. Use the Diagonal Stitched Plaid plate to add some more texture.

Next I stamped the images onto watercolor paper using versamark ink, sprinkle WOW gold pearl embossing powder and heat set. Add color to the images using the new watercolors (coming soon). I also stamped  the images onto vellum and embossed using opaque white embossing powder. Die-cut all the images. Adhere the frame using 3d foam to the card and create the cluster.

To finish, add a sentiment and some gold dust gems.

For the second card, I took a light pink panel, added white ink using a brayer for a soft look. 

 
I added some texture using the Diagonal Stitched Plaid plate. I then die-cut a frame using the Ornate Oval Frame and Glacier Glitter card.Adhere to the card using 3d foam. 
 

Stamp the images using black ink, add color using blender brushes and inks (Lemon Whip, Waterfall, Sparkling Rose, Coral Reef, Raspberry Bliss, Berrylicious, Gathered Twigs, Citron, Sage, Eucalyptus, Bay Leaf, Spanish Moss) through the coordinating stencils.


Die-cut the images, create the cluster using the stamped images and the vellum leaves. To finish add some Ombre glitter drops: Twilight

GIVEAWAYS:
Pinkfresh Studio will be giving away the full release on the Pinkfresh blog & YouTube channel.
As well as a total of TEN $25 gift cards along the hop. As per usual with blog hops - the winners will be picked from the comments.
Pinkfresh Studio will pull the winners & post them on April 2, 2024 on their GIVEAWAY PAGE. Don't forget to check that page & claim your prize within 2 weeks.

Here is the link to complete HOP list
CLICK HERE TO ENTER

Tuesday, March 12, 2024

Sunny Studio - Birthday Flowers Card

Hello everyone! Today I am on Sunny Studio blog with a clean and simple card featuring the new Beautiful Bluebells stamps and dies. These are lovely layering stamps, which are easy to line up and give a beautiful dimension without having to do much work.

To start, I die-cut an arch using the Stitched Arch dies. I then sponged yellow ink to the top and side. Adhere the negative layer to a yellow cardbase.

I stamped the florals and stems using pinkfresh studio inks. Adhere the arch using 3d foam, adhere the florals. Stamp the banner and the sentiment from the Little Birdie stamp set, die-cut using the coordinating dies.


Stamp the butterflies from the Watering Cans stamp set onto vellum using versamark ink, sprinkle WOW! opaque white embossing powder, heat set. Add color using copic markers. Die-cut using the coordinating dies. Adhere to the card. Hope you enjoyed today's card. Thank you for dropping by and have a nice day!

Friday, March 8, 2024

Pinkfresh Studio - Happy Vibes

Welcome everyone! I am up on the Pinkfresh Studio blog today featuring the Cherry Blossoms stencil and die combo, Happy Vibes stamps and dies. I used the Dotted Petals press plate and inked it partially over a pretty water-colored background. I also used the Folk Edge Circle dies.

I started by adding some Pinkfresh watercolors to the watercolor paper (both will be releasing soon). Let it dry. Next I used the mint ink to the corners of the Dotted Petals press plate. Dab some ink using the 1/2 inch blender brush. Take the letterpress impression. 

I then sponged inks through the Cherry Blossoms stencils using the 1/2 and 1/4th inch Blender Brushes, die-cut using the dies. I created this twice.

Flower layer light: Coral Reef, Ballet Slippers

Flower layer dark: Coral Reef, Raspberry Bliss

Flower center: Coral Reef, Marigold

Leaves: Bay Leaf, Key Lime, Olive, Evergreen

Branch: Doe, Gathered Twigs, Key Lime, Bay Leaf

Stamp the sentiment using Detail Black ink, die-cut using the coordinating dies. Die-cut a vellum circle using the Folk Edge circles dies. Adhere the sentiment to the vellum using 3d foam. Adhere this to the card.

Adhere one of the cherry blossom twig coming down from behind the sentiment, Cut part of the second twig and adhere it going up from the sentiment. I used 3d foam to some of the flowers for added dimension. To finish adhere a few Clear Drops in Ice.

Thank you for dropping by and have a nice day!