Wednesday, December 27, 2023

Sunny Studio - Tweet Heart

Hello everyone! Isha here with you with a valentine theme card featuring the Love Birds stamps and dies. Hope you all had a wonderful Christmas with your family. Moving from all the holiday cards to valentine theme card felt like a big change...lol


I started by die-cutting a white panel using the Bursting Heart Dies. Next, take a vellum and sponge inks mimosa, mango sorbet, bubble gum and raspberry bliss by Pinkfresh studio. Adhere behind the die-cut panel. Adhere to a white card.

Die-cut the hearts using the Stitched Heart 2 dies from vellum and white card. Die-cut another heart using the Scalloped Heart die. Sponge the same inks to this piece. Stack the hearts using 3d foam and liquid glue.


Stamp the images from the Love Birds stamps, color using copic markers and die-cut using the coordinating dies. Adhere to the card. Stamp the sentiment using versamark ink, sprinkle WOW! opaque white embossing powder and adhere to the card.

Thank you for dropping by and Happy New Year to you all.

Tuesday, December 19, 2023

Sunny Studio - Feliz Navidad

Hello everyone!I am on Sunny Studio blog today sharing a card featuring the Feliz Navidad stamp and dies. I love the font so much and that the die gives some added interest.
 

I started by adhering the red snowflake pattern from the Joyful Holiday paper pack. Next, die-cut the semi circle from the Stitched Semi Circle dies. sponge peacock feathers distress ink to it. flick white paint.
Next I stamped the images, color using copic markers and die-cut
Background - Scenic Route stamp and dies
Reindeers - Reindeer Games stamp and dies
Sentiment - Feliz Navidad stamp and dies
Stamp the scenic routes stamp, die-cut. Next die-cut this piece using the semi circle die. Assemble all the images to the card. I die-cut the sentiment using black card too and adhered it behind the stamped layer, slight offset.
 

To finish, I added some nuvo glitter for the snow banks.
Thank you for dropping by and have a nice day!

Tuesday, December 12, 2023

Pinkfresh Studio - Press Plates Release

 Hello everyone! Pinkfresh Studio has released some amazing Press Plates yesterday and I am so delighted to join them for the instagram hop today.  This release is jammed packed press plates designs that I'm sure you will love!!!

I have four cards for you as I couldn't stop playing. I also got a chance to play with some of the new watercolors which will be releasing soon. I have to tell you they are GORGEOUS :)

These press plates works with Spellbinders Betterpress system.  All the supplies are linked below if you would like to check. 

For my first card I used the gorgeous Beautiful Rose pressplate onto the new watercolor paper, which will be released soon. I used the pinkfresh detail black ink for the impression, used the new watercolors to color the image. For the sentiment I used the Favorite Things Sentiments plate and die.

To finish I adhered some of the clear drops:Ice to enhance the sentiment a bit.

For the next card I played with watercolors to create this fairy theme background. Die-cut the background using the Folk Edge rectangles die. I used the Floral Octagon Frame press plate and used Regal Bliss ink for it. Adhere the images to the paper using 3d foam to the central image for added dimension. Next, I used the Favorite Things Sentiments plate and used it to foil the sentiment using gold matte foil. Adhere to the card.

Card 3: I created a watercolor wash panel using coral and orange shades. I then used the Ornate Trellis press plate with persimmon ink. Die-cut using the coordinating dies. Adhere to a white card using 3d foam. Die-cut a label from vellum using the Basic Label Frames die. Foil the sentiment and adhere to the card. to finish I added some gold matte pearls.

For my last card, I created a watercolor panel using blue, teal and green watercolor.  This time I used gold ink with the Ornate Trellis press plate, die-cut using the dies. Adhere to the watercolor panel using 3d tape. Foil the sentiment and adhere to a teal die-cut slightly offset. Adhere this to a vellum label.

To finish, I added some champagne clear drops. Love the result.


 Thank you for dropping by and I hope you enjoyed the projects as much as I did creating them. Don't forget to comment on the instagram post @ishagupta_ig for a chance to win.

Sunny Studio - Season's Greetings

Hello everyone! I am on Sunny Studio Blog today with an adorable winter theme card featuring the Woolen Mitten Dies.  This die is big and first I thought of creating a shaped card as it's perfect size but then I went for the layering style and loved the result. 


I started by sponging salvaged patina ink to a white card. Next I die-cut a white card using the Frilly Frames Herringbone die. Use this piece as stencil and sponged peacock feathers distress ink through it. Die-cut a white border from the Frilly Frames Rectangle die. Adhere to the card.

Next I started by die-cutting and stamping all the elements. Colored the snowmen using watercolors. Sponged various inks to the leaves and flowers.

Mitten, snowflakes, poinsettia, holly leaves -  Woolen Mitten Dies

Circle - Stitched Circle Small dies

Leaves - Winter Greenery dies

Snowmen - Snowman Kisses stamps and dies

Sentiment - Inside Greetings Holidays

Emboss the snowflakes using WOW! gilded embossing powder. Assemble all the elements, flick white paint. To finish, add some clear drops.


Thank you for dropping by and have a nice day!

Tuesday, December 5, 2023

Sunny Studio - Merry Christmas

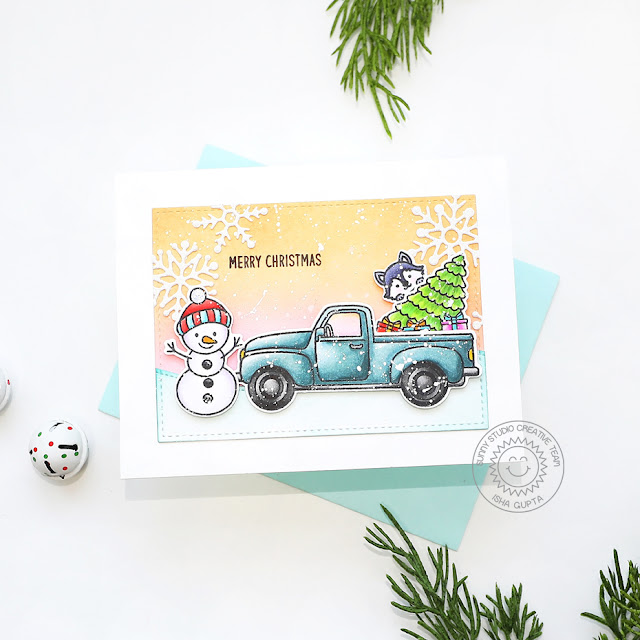
Hello everyone! Today, I am on Sunny Studio blog with a fun winter scene featuring the Truckloads of Love stamps and dies. I love happy and cheerful colors for my winter cards hence the color combo.


Die-cut a white panel using the Stitched Rectangle dies. Sponge picked raspberry, spiced marmalade distress oxide inks to create the sky. Next I die-cut the snow bank using the Slimline Nature Border dies. Sponge evergreen bough oxide ink. Adhere to the panel.

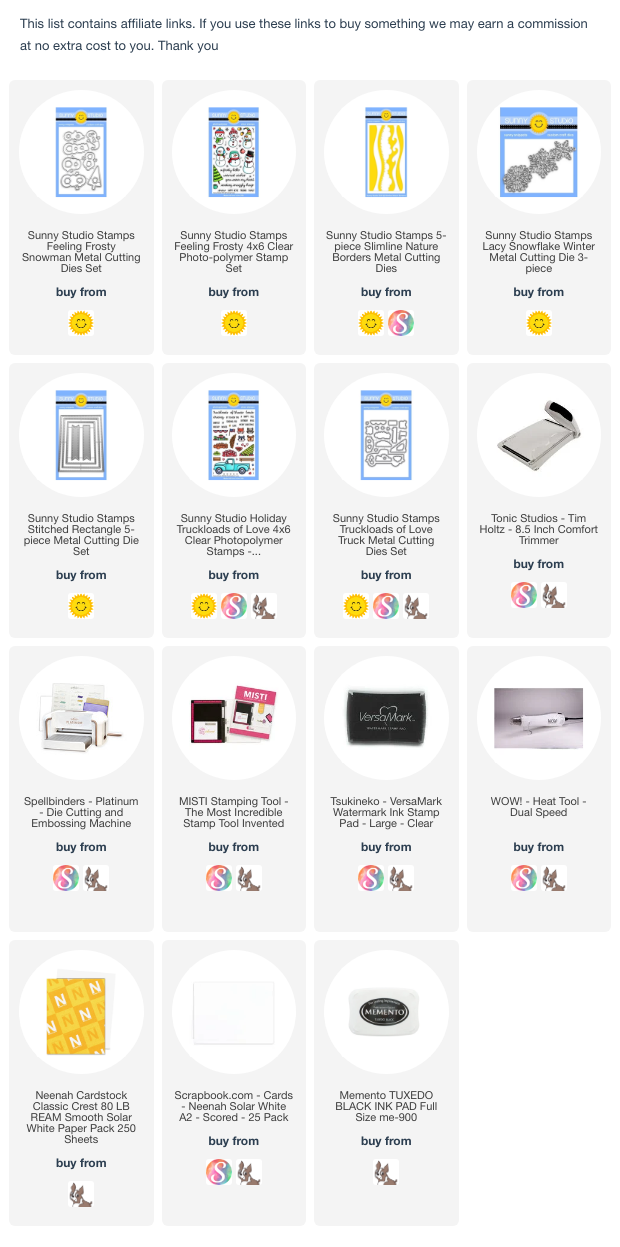
Stamp the images from the Truckloads of Love, color using copic markers and die-cut using the coordinating dies. Stamp the snowman from Feeling Frosty stamp, color and die-cut using the coordinating dies. 


Flick white paint to the panel. Die-cut the snowflakes from the Lacy Snowflakes dies, using glitter cardstock. Adhere the panel to a white cardstock. Adhere the images. Stamp the sentiment to finish the card. Thank you for dropping by and have a nice day!