Hello and welcome everyone! I am super excited to join Pinkfresh Studio for their April 2021 Stamp, Stencil, Die, and Hot Foil Release. You can check out the new release HERE!
My post today is part of a blog hop with giveaway - stay tuned for the details at the end of this post

Shop HERE
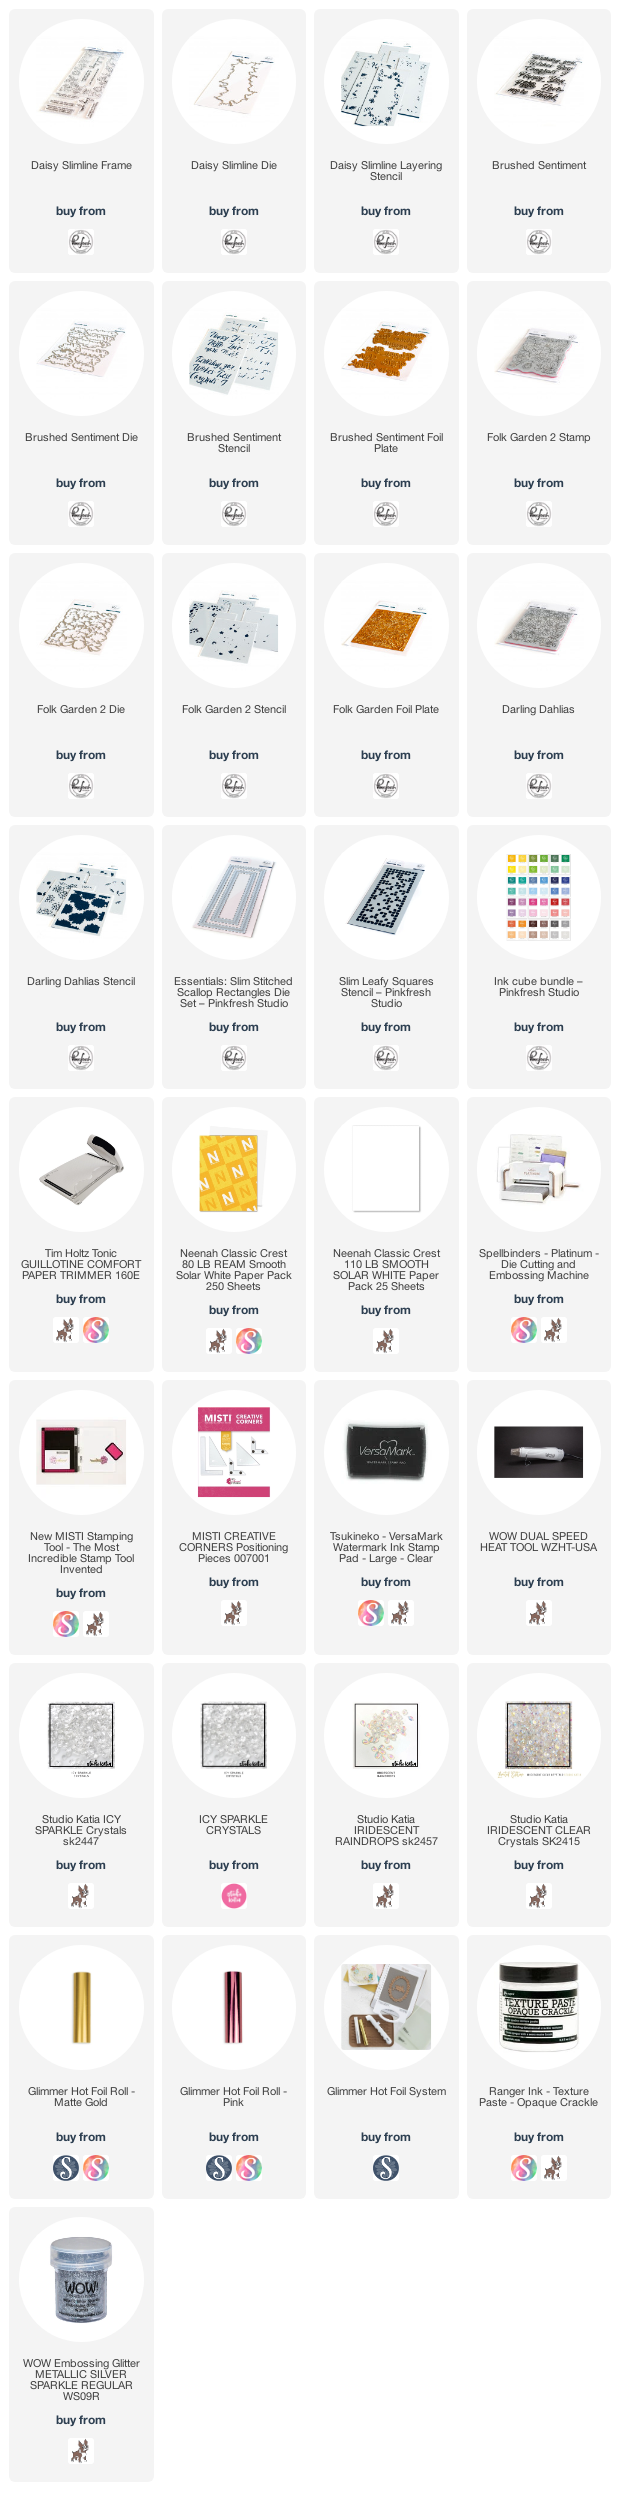
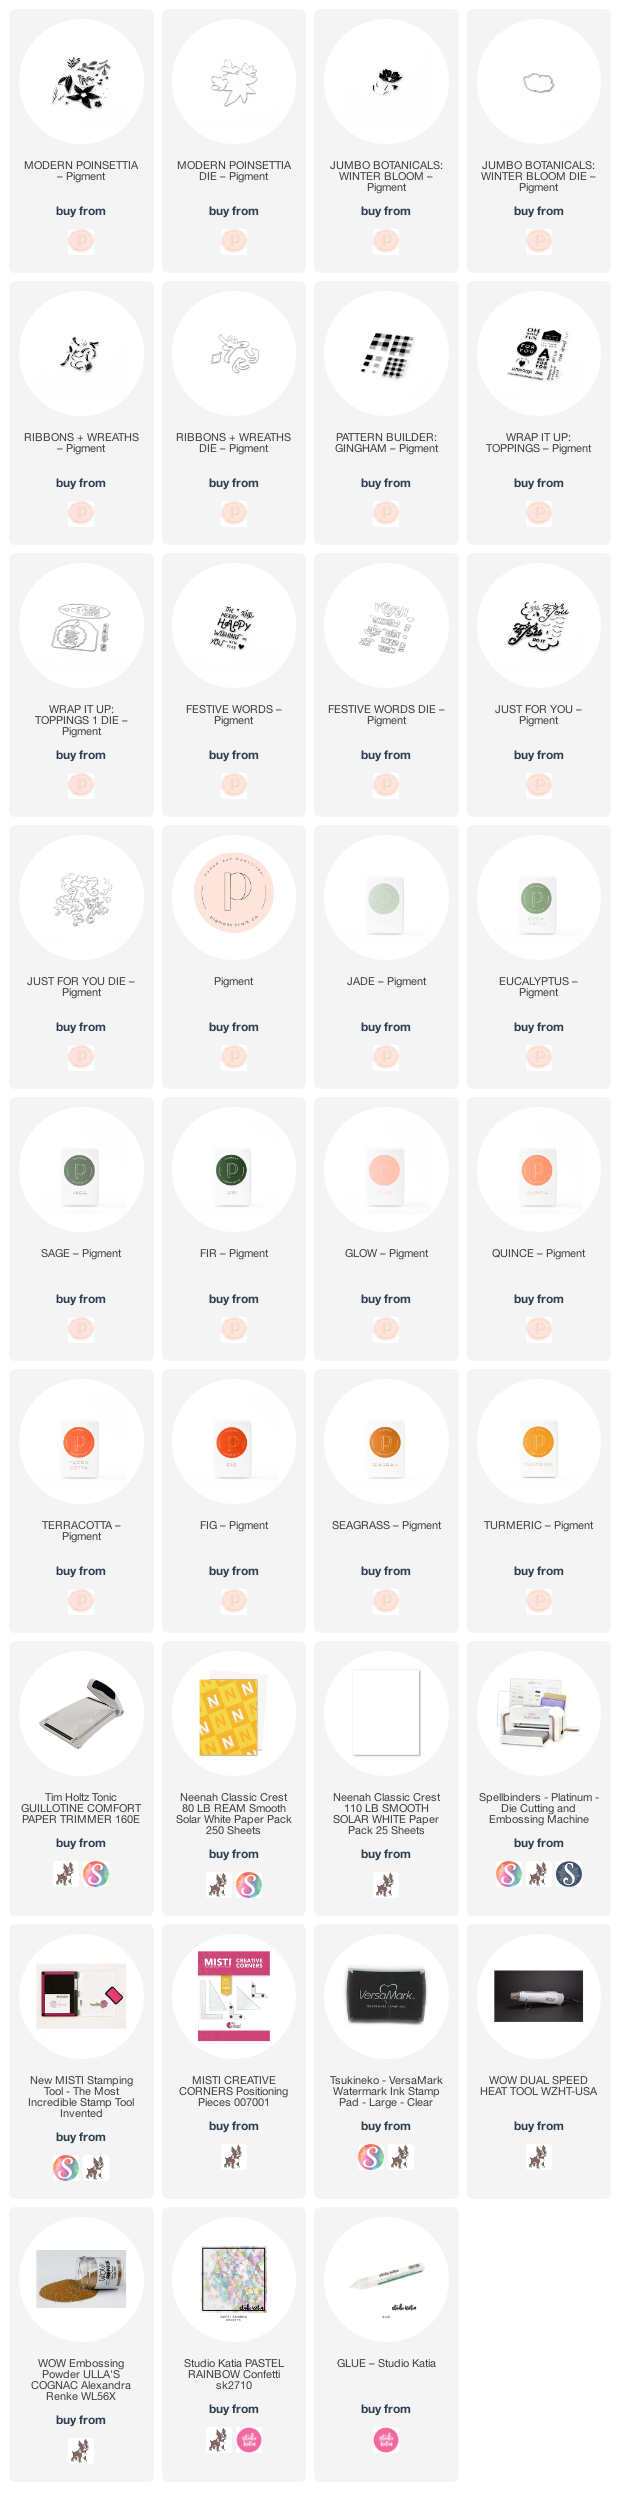
For the full supply list, scroll down to the thumbnails at the end of this post.
I have five cards for you today. The first three cards use the same stamp set "Folk Garden 2" This truly has so many possibilities :)
For the first card I used the Folk Garden 2 stamp along with the Folk Garden 2 layering Stencils and the Folk Garden 2 dies, Brushed Sentiments hot foil plate, dies.

Stamp the image, add color using the layering stencils. I used Candy Apple, Berrylicious, Sparkling Rose, Bubble Gum, Clementine, Yellows and Brown. Die-cut using the coordinating dies. Take a dark red cardbase and sponge some berrylicious ink to the edges. Adhere the images to the card using 3d foam towards the edges. Flick gold paint. Foil the sentiment using the hot foil plate with Spellbinders glimmer machine and gold matt foil. Die-cut using the dies. Die-cut one more piece using pink cardstock. Adhere behind the foiled sentiment, slightly offset. Adhere to the card.

For the 2nd. card, I used a peach cardstock and used the Folk Garden 2 foil plate. I then foiled the image using pink foil. Add white pigment ink through the Folk Garden 2 layering Stencils, let dry. Now add color using the passion fruit, clementine, yellow, candy apple, meadow, evergreen inks. Die-cut the image using the Folk Garden 2 dies. Adhere the images to a white card layer. Add dimension to the leaves and florals by simply shaping them a bit.

Stamp the sentiment from the Daisy Slimline stamp and adhere to the card.

Stamp the sentiment from the Daisy Slimline stamp and adhere to the card.

Next, I went with no line watercolor look using the same Folk Garden 2 stamp.Stamp the image using Peach fuzz ink, Color using zig brush markers. Die-cut the image using the Folk Garden 2 dies.
Take a watercolor layer, apply crackle paste to it through the Leafy Squares stencil. Let dry. Add watercolor in pink. Add some flicks of pink and gold. Adhere the image to the layer using 3D foam. Die-cut a frame using the Slim Stitched Scalloped Rectangles. Adhere behind the mat layer. Adhere this to the card.
Foil the sentiment using gold matt foil, die-cut. Now backing it with a vellum circle, adhere to the card.

To finish, add some iridescent crystals from Studio Katia.

For the next card, I used the Darling Dahlias stamp set and the coordinating Layering Stencils. What I like about the stencils is the it can cover the images so I could add color to the background too. Easy Peasy...lol. Flick white paint.
I used inks in Sky Blue, Seaside, Storm, Bubble Gum, Raspberry Bliss, Meadow to add color to the image. Now, I used the layering Stencil from the Brushed Sentiments...Oh! I love the effect so much. Die-cut using the coordinating dies.

Die-cut the scalloped using slimline scalloped rectangle, adhere vellum behind it. Add the sentiment using 3d foam and backed with white floss

For the last card, I used the Daisy Slimline Frame stamp, emboss it using WOW! silver embossing powder. Add color using the layering stencils and cut the center using the coordinating die. take a watercolor mar layer, apply crackle paste through the Leafy Squares stencil, let dry. Add some blue, pink and orange ink for some color.

Adhere the frame to this layer using 3D foam. Adhere to a white card. Stamp the sentiment in black and add some Icy Sparkle crystals by Studio Katia.


For the full supply list, scroll down to the thumbnails at the end of this post.
GIVEAWAYS:
Pinkfresh Studio will be giving away the full release on the Pinkfresh blog & YouTube channel.
TEN $25 gift cards will also be given away picked from the comments.
GIVEAWAYS:
Pinkfresh Studio will be giving away the full release on the Pinkfresh blog & YouTube channel.
TEN $25 gift cards will also be given away picked from the comments.

Winners will be posted on November 11, 2021 on Pinkfresh StudioGIVEAWAY PAGE. Please check that page & claim your prize within 2 weeks.
Check the hop links at the end of the post.