Thursday, November 30, 2023

Heffy Doodle - Winter Wishes

Hello everyone! I am on Heffy Doodle blog today, with an adorable Winter Wishes card. We all need plenty of such cards at this time of the year, change the sentiment and easily turn it into a Christmas card.


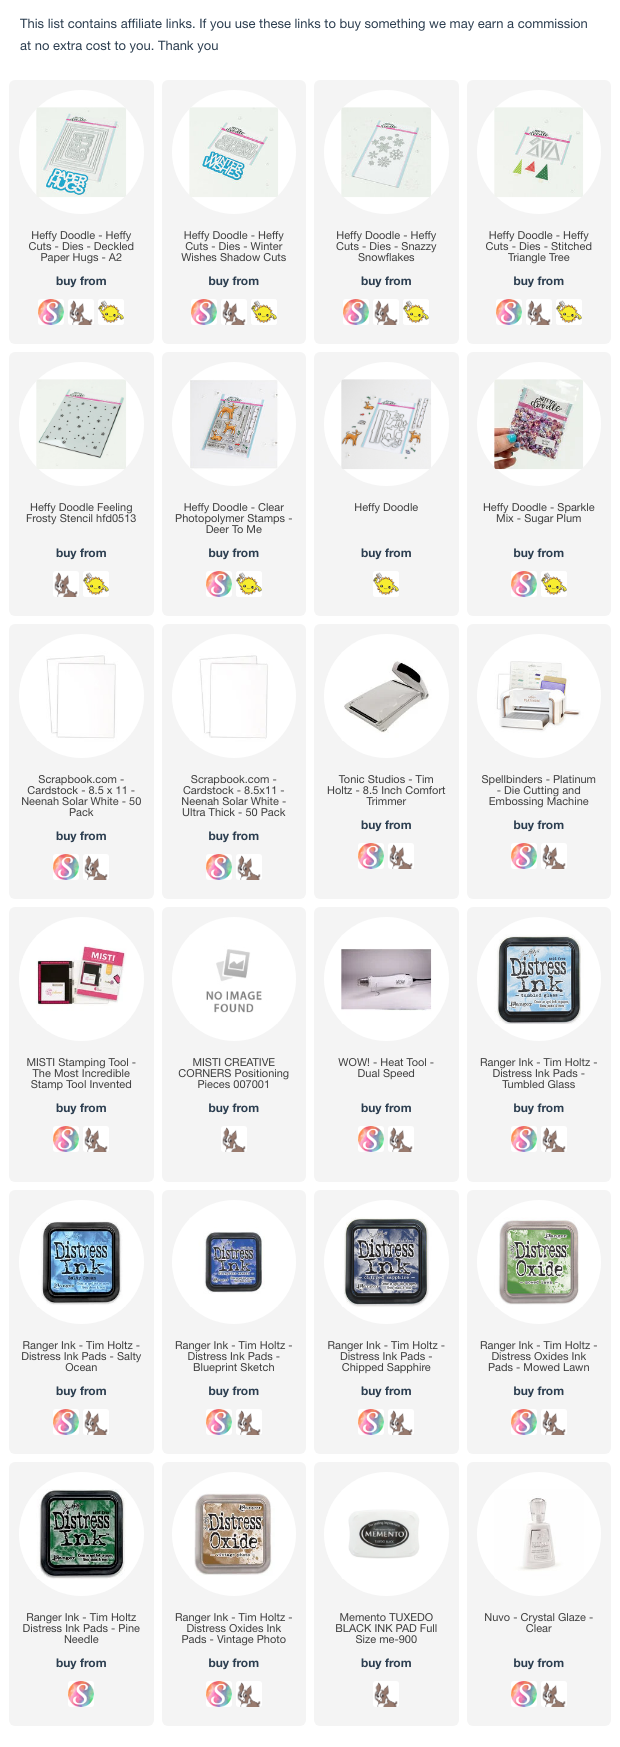
I started by die-cutting a white layer using the Deckled Paper Hugs die. Sponge tumbled glass, salty ocean, blueprint sketch and chipped sapphire distress ink to it. Flick water and also white paint.

Next, add nuvo glimmer paste through the Feeling Frosty stencil, let dry. Add this piece to a white card base.

Die-cut the trees from the Stitched Triangle Tree dies. Sponge mowed lawn, pine needles distress oxide to the tree and vintage photo to the tree trunk. Adhere to the card.

Stamp the deer from the Deer To Me stamp set onto alcohol friendly cardstock, color using copic markers and die-cut using the coordinating dies. Adhere to the card using 3D foam.


Die-cut the word "Winter Wishes" from the Winter Wisher shadow cuts four times and stack them. Add nuvo crystal glaze to it and sprinkle chunky glitter, let dry. Die-cut the shadow from vellum, adhere the sentiment to the vellum and then to the card.


Next, die-cut some snowflakes from the Snazzy Snowflakes dies, adhere to the card.

To finish, add some sequins from the Sugar Plum mix. Thank you for dropping by and have a nice day.

Tuesday, November 14, 2023

Sunny Studio - Holiday Greetings

Hello everyone! Isha here with another holiday card featuring the Holiday Hugs stamp and dies. I combined a few other products from the previous releases to create this adorable scene. I love the size of this cute bear and especially the die-cut to pop the arm so it could hold something :)
 

To start, I sponged peacock feathers and mowed lawn distress oxide inks through the Forest Trees stencil until about half the card. I then sponged kitsch flamingo and picked raspberry oxide inks to create the sky. Next stamp some of the snowflakes from the Holiday Hugs stamp set. Flick white paint to this layer and let dry.

Die-cut the frame from the Fancy Frames Rectangle from white cardstock. Adhere to the layer. Adhere this to a white cardbase.
 

Stamp the images, color and die-cut using the coordinating dies.
Bear, Gift, sentiment: Holiday Hugs stamps and dies
Fir Branch: Bells and Baubles stamps and dies
Small gifts: Holiday Express stamps and dies
Bulbs garland: Scenic Route stamps and dies

Stamp the word "GREETINGS" onto black card using versamark ink, sprinkle WOW! opaque white embossing powder and heat set.

Assemble everything to the card. Thanks for dropping by and have a nice day!
 

Friday, November 3, 2023

Heffy Doodle - Happy Holidays

 Hello Heffy friends! Isha here with you today sharing a fun and bright card featuring the new and old products. I love how we can mix and match the products so easily.


To start, I sponge distress inks (peacock feathers, salty ocean, chipped sapphire) to a white panel. Next I added some more ink through the Bits and Bytes stencil. Die-cut the panel using the largest of the Deckled Paper Hugs Dies. Adhere to a blue card. Die-cut a kraft cardstock stripe , sponge vintage photo distress ink and use it to create the floor.


Stamp various images from the stamps below, color using copic markers and die-cut using the coordinating dies. 


Fireside Dreams stamps and dies

Trim The Tree stamps and dies

Wrapped with Love stamps and dies

Farmyard Fun stamps and dies

Assemble to create a scene.

Next, stamp the sentiment from the Happy Holidays Sentiment Stamps and add some details using a white gel pen.

Thank you for dropping by and have a nice day!