Wednesday, July 31, 2019

Picket Fence and WOW! Embossing Powder Collaboration Hop

Hello and welcome everyone! I am so excited to be part of this wonderful Picket Fence and WOW! Embossing Powder Collaboration blog hop. I love products of both these companies, so it's an honor to be part of this hop.

 
I made 2 cards today.
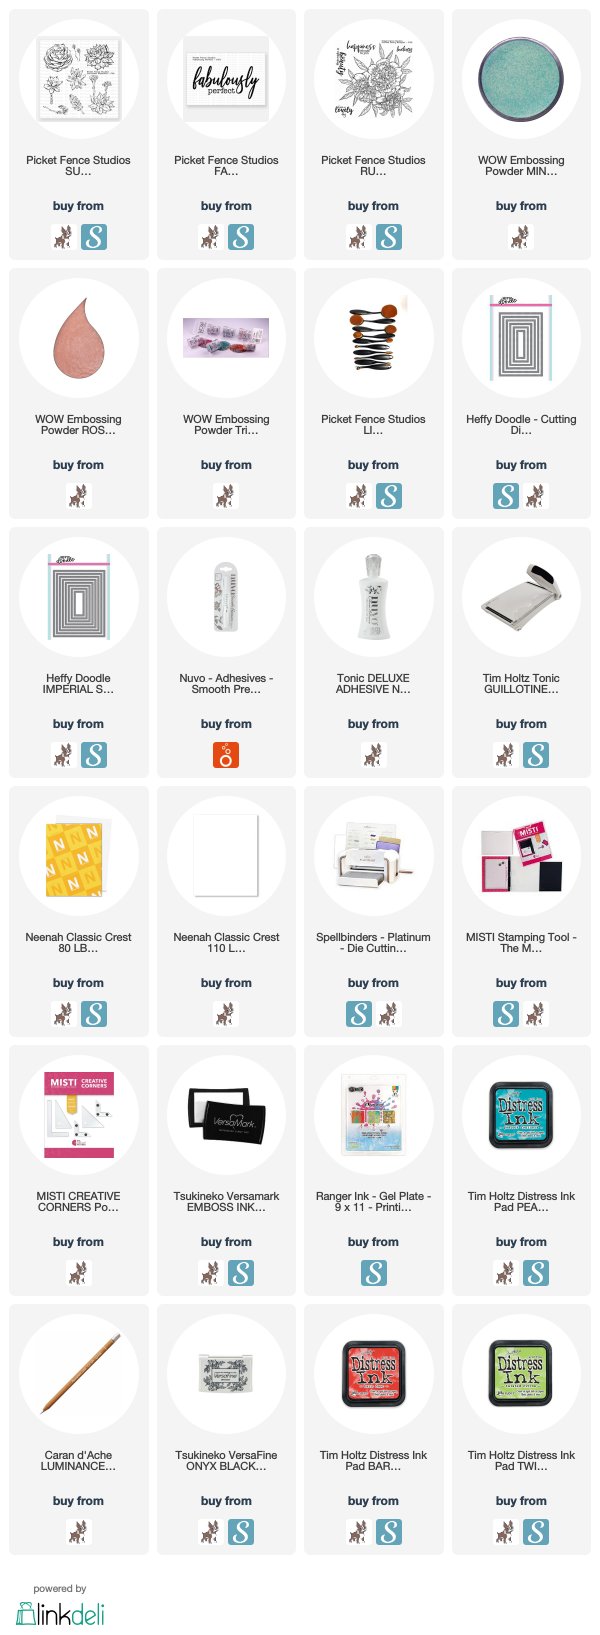
For my first card, I used one of my favorites Bang (Confetti Trio by Marion Emberson) and Mint Macaroon embossing powders along with the pretty Ruffled Peony Bouquet and Fabulously Perfect stamp sets. I also used Picket Fence life changing brushes, trust me they are really amazing for all those smooth blending.
I started by stamping and embossing the florals onto a white cardstock. I then sponged some peacock feathers distress ink to this panel in an ombrè. I then added a bit of Caran d'Ache white luminance pencil to parts of the image to make them pop.


I stamped the sentiment and emboss it using Bang embossing powder. This powder has silver and white specks with teal base which looks really pretty.


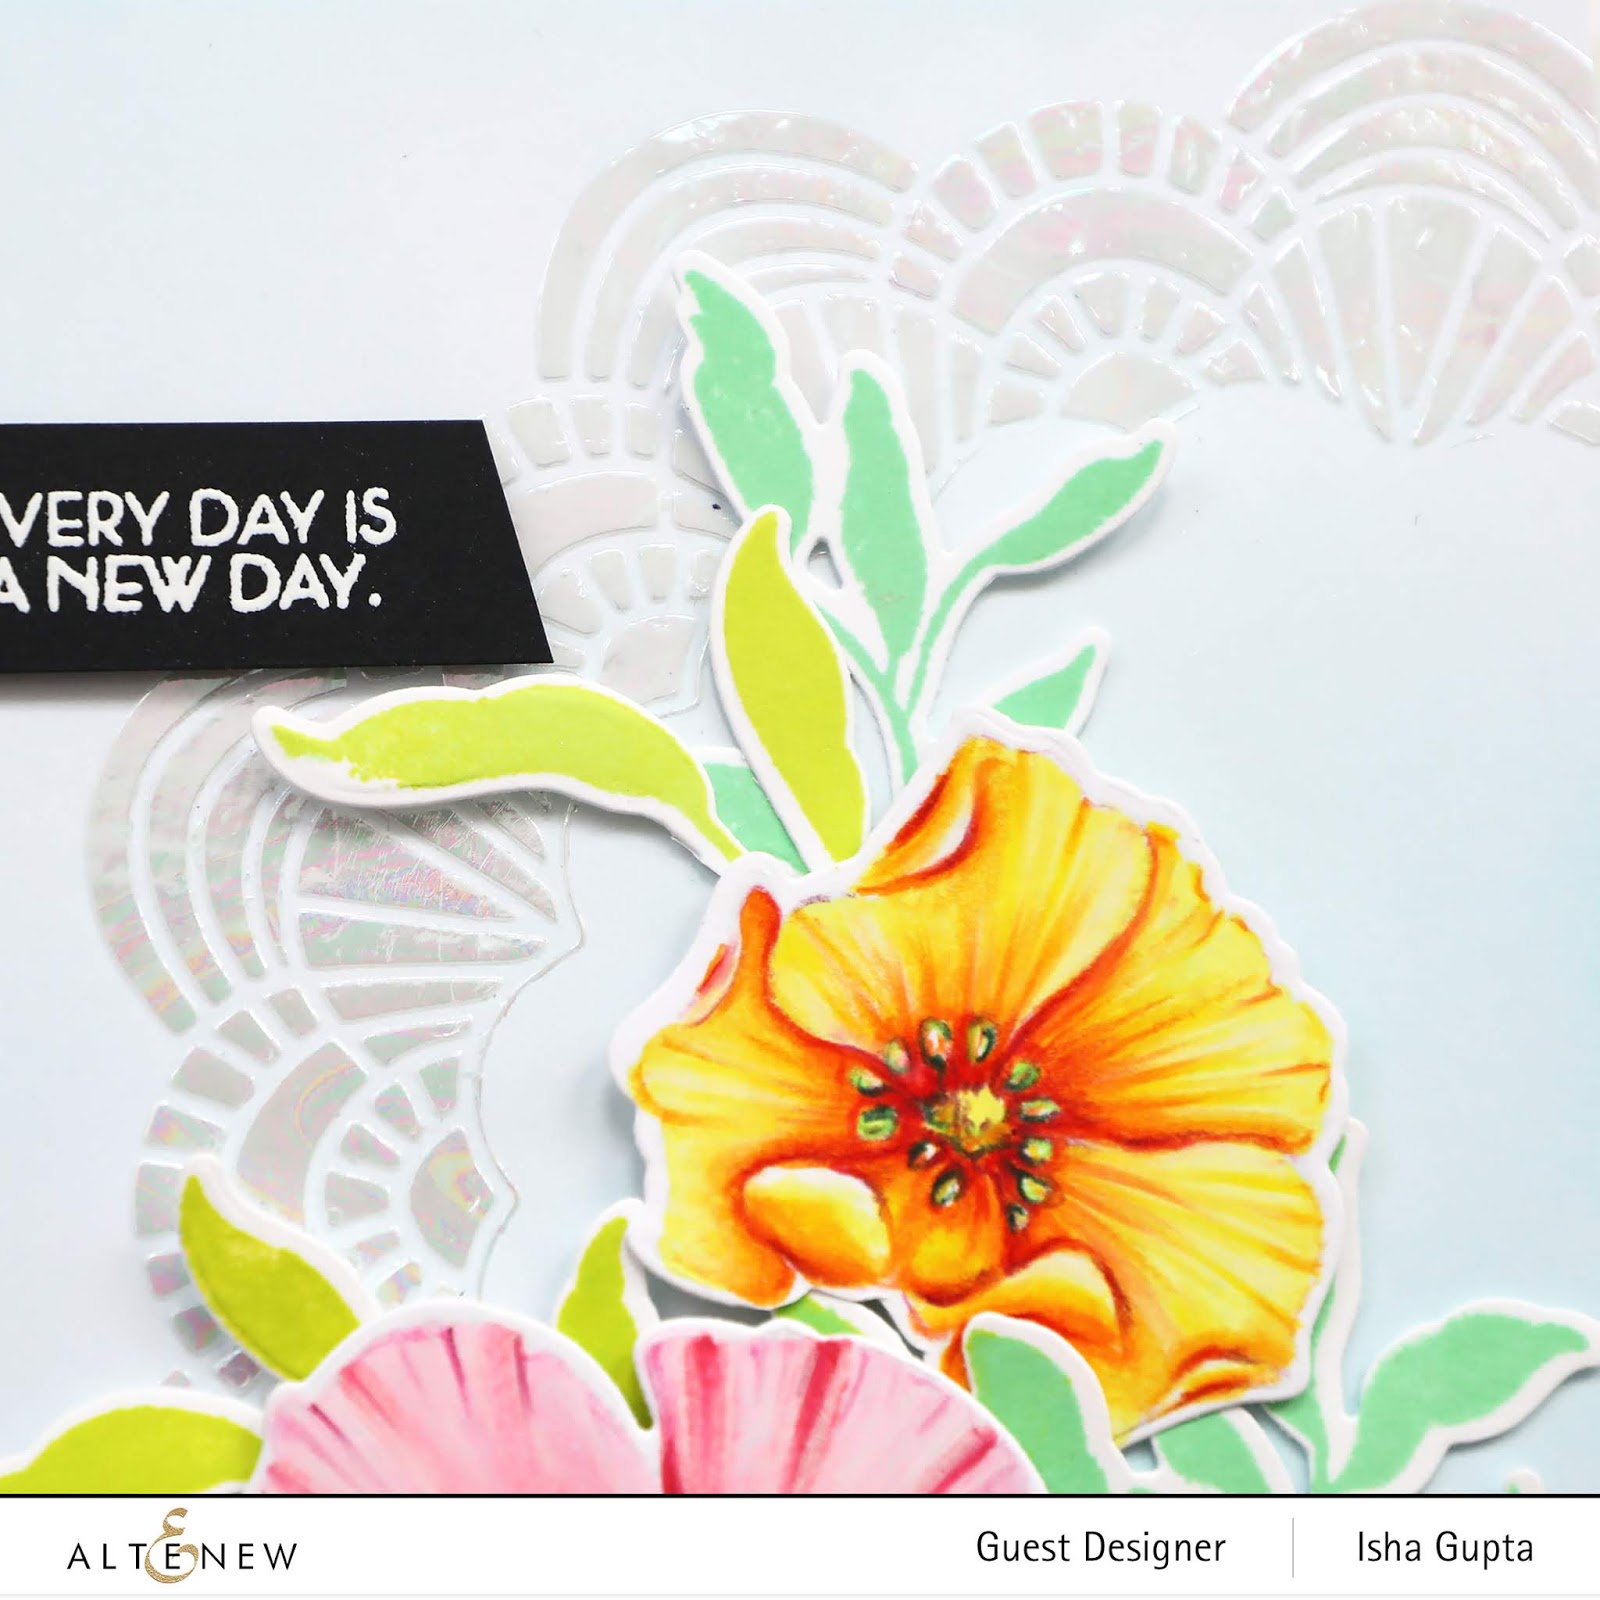
For my 2nd card, I used the pretty and soft Rose Glintz and Black Glint embossing powders along with Succulent Blossoms and Ruffled Peony Bouquet stamp sets. I created this abstract multi-colored white piece using my gelli plate. I then stamped and embossed the succulent images and embossed them using black glint embossing powder. I fussy cut them and adhered them to a white mat layer. 


To balance the boldness of the images, I wanted to keep the sentiment soft, so Rose Gold powder was perfect for it.


PRIZES - No Blog hop is complete without a prize! Right :)

WOW! Embossing Powders has 6 powders of your choosing along with a WOW carry case to store your powders safely in.
AND
Picket Fence is giving away a $50 gift certificate to their store.

The Winners will be chosen at random from the comments left on THE POSTS.

To join this GIVEAWAY you must leave a comment on each blog post to have a chance at getting your hands on the prize. This hop is open internationally.

Here is the full list for the hop participants :)

WOW! Embossing Powder Blog

Picket Fence Studio Blog

Jo Herbert

Ilina Crouse

Ashlee McGregor

Susan Wymer

Karen Reategui

Ceal Pritchett

Verity Biddlecombe

Raluca Vezeteu

Angela Bode

Sidnie Knight-Des Jardins

Heather Ruwe

Erica A B Andersson

Jennifer Timko

>>>Isha Gupta<<< You're HERE

>>>Laura Sterckx<<< Next Stop

Judy Rozema

Jenny Colacicco

Rosali B.

Lisa Henke

Lydia Fiedler

Anna Wight

Jana Millen

Enjoy and have fun! Happy hopping :)

Tuesday, July 23, 2019

Altenew July 2019 Stencil Release Blog Hop + Giveaway

Hello and welcome everyone! I am super delighted and honored to be a part of the July 2019 Stencil Release Blog Hop over at Altenew.

You are going to love the various stencils with variety of styles. Check out all the July Stencil Release products HERE

You should have come here from the talented
Terri Koszler's blog if not start at the Altenew Blog so you won't miss anything! 


Here is the full release view, simply click on it to check on Altenew shop.

https://shareasale.com/r.cfm?b=888816&u=1051809&m=66850&urllink=altenew%2Ecom%2Fcollections%2Fjuly%2D2019%2Dstencil%2Drelease&afftrack=

Let's start the fun. This is a picture heavy post so grab your favourite drink and enjoy :)
I have 5 cards for you today using various products and techniques!

For my first card I used the new Bubble Wrap Stencil along with the Fantasy Floral Die, Super Script stamp and die and the Delicate Primrose stamp and die. 
I started by applying the Altenew Embossing paste through the stencil to a light pink cardstock. Remove the stencil and add some glitter. Let this dry. I then applied yellow ink to some of the dots. Stamp the flower and die-cut- Die-cut the leaves. Stamp and cut the word "friend".

 
Assemble everything together. Here is a close-up to see the beautiful shimmery dots.


For my next card, I used the Doily Frame Stencil along with the Leaf Clusters stamp and dies and the Peaceful Reverie stamp and dies. 
I started by applying the Deco Foil gel through the stencil and let this piece dry. I then ran it through the laminator with the Deco Foil Opal foil. Love the pretty and intricate pattern of the stencil. I then sponged some teal ink to the cardbase. Stamp and die-cut the leaves using the Bamboo and sweet leaf inks. stamp the flowers using Antique Linen ink and colored them using copic markers. I added some deapth using Faber-Castell Polychromos pencils.

 
 Die-cut the flowers and assemble everything together. Here is a close-up of the pretty and intricate doily stencil.


For the 3rd. card, I used the new Beach Towel Stripes Stencil along with the Painted Flowers stamp and Super Script Stamp and Die. I really like the uneven thickness of stripes of this stencil as it gives a lot of interest.
I started by applying some distress inks through the stencil using Picket Fence life changing brushes. I then applied some clear gel medium and added clear glitter to it. Let this dry. Stamp the florals onto vellum using StazOn black ink and fussy cut them. Stamp and emboss the word "hello" and die-cut it.


Assemble everything together. To finish, I added the Summer Fusion sequins by Studio Katia.
 

For the 4th card, I used the Buffalo Plaid Builder Stencil along with the Delicate Primrose Stamp and die. Wild Fern Stamp, Leaf Clusters Stamp and Die, Nesting Labels Die and the Decorative Edges: Lace Die. There is a possibility of creating so many various styles of plaids using this stencil.
I applied the Puffy Heart and Citrus Burst ink through the stencil using the Picket Fence brushes. I then added a few flicks of black ink. Die-cut the lace and adhere to the layer. Stamp the sentiment onto the label. Finally Stamp the Florals using Pocketful of Sunshine and Cherry Blossom inks and die-cut.


Stamp and die-cut the leaves too. Apply clear wink of stella glitter to the florals and to finish add a few Sparkling Crystals by Studio Katia.


For my last card, I used the new Wonderful Wreath Stencil along with the Leaf Clusters stamp and dies, Wild Fern Stamp, Delicate Primrose stamp and die, Dotted Swirls Debossing Cover Die.
I started by applying a few shades of green inks through the stencil using the picket fence brushes. I created layers by moving the stencil a tiny bit with each color change. I then ran this panel through the die-cutting machine using the swirl cover plate. I then stamped the flowers using the Minty Mint and Soft Lilac ink. Stamp and die-cut the leaves. Arrange the cluster.


 Stamp the sentiment and adhere the stripe to the card. To finish, I added clear wink of stella glitter pen to the florals and adhered some Satin Rainbow Confetti by Studio Katia.


Prizes:

To celebrate this release,
Altenew is giving away a $30 gift certificate to 6 lucky winners! Please leave a comment on the Altenew Card Blog and/or Altenew Scrapbook Blog by 7/28/2019 for a chance to win.
There is another chance for my blog readers to win a $15 gift certificate from the comments left on each designer’s blog on the blog hop list below. All winners will be announced on the
Altenew blogs on 7/30/2019.
There's more! To celebrate a release of stencils, Altenew running a special promotion. 
wo days only! Save 25% on the 12 Metallic Shimmer Ink Spray Bundle from 7/23/2019 at 12:01 AM EDT until 7/24/2019 at 11:59 PM EDT. Not valid on previous purchases. While supplies last. 
Shop HERE

http://shrsl.com/1pu2e
  
Your next stop on the hop is Jeanne Jachna
Here is the full hop list if you missed a stop :)

Altenew Card Blog
Altenew Scrapbook Blog
Virginia Lu
Nathalie DeSousa
Jaycee Gaspar
Kymona Tracey
Amber Rain Davis
Laurie Willison
Maryam Perez
Emily Midgett
Agnieszka Malyszek
Zinia Redo
Norine Borys
Caly Person
Lilith Eeckels
Therese Calvird
Ashlea Cornell
Erum Tasneem
Marie Nicole
Svitlana Shayevich
Terri Koszler
>>>Isha Gupta<<<You're Here
Jeanne Jachna
Kelly Janes
Mindy Eggen


You can find links to the supplies I’ve used below; click on the picture or shop icon to get taken directly to the product. Where available I use compensated affiliate links which means if you make a purchase I receive a small commission at no extra cost to you. Thank you! 

Monday, July 22, 2019

Heffy Doodle: You're the Sweetest

Hello everyone! Today, I am sharing a sweet card using some AWESOME Heffy Doodle new release products!


I am using the new Treat Yo'Self stamp set along with the Treat Yo'Self dies, Imperial Stitched Rectangle Dies and the Pinstripe Stencil.


I stared by creating the stenciled background. I used the wreath builder stencil by Gina K designs and used it to sponge various inks through the pin strip stencil. I got inspired by Jennifer McGuire for this technique.Here is the video she made.

Once the background was ready, I die-cut the panel using the stitched rectangle die. Now, I stamped the images using a copic friendly ink. Colored it and die-cut using the coordinating dies. Aren't these images cute...Love those cute faces on them.


Finally, I stamped the sentiment and applied some wink of stella clear glitter to the images. Assemble the card as in the photo.
 Have a wonderful day!


Sunday, July 21, 2019

Heffy Doodle: Hello Card

Hello everyone! I am sharing a cute card using some AWESOME new release products!


I am using the new Spaced Out, Hello Everyone stamp sets along with Spaced Out, Hello Everyone, Silver Linings Cloud Border dies and Cloudy Skies stencil


I stared by creating the galaxy sky using various Daniel Smith and Schminke watercolors. I then sponged the sky stencil onto a piece of white cardstock using blue ink. I die-cut this piece using the cloud die.

stamp the part of the sentiment onto the cloud part. Stamp the word Hello and die-cut it. Adhere to the cloud piece.

Stamp the image and color it using copic markers. Die-cut it.


Assemble the card as per the photo. To finish, I added some chunky confetti glitter by Studio Katia.

We would love to see your creations using Heffy Doodle products so do tag us whenever you share them. Have a wonderful day!

Wednesday, July 17, 2019

Studio Katia: Love You Card

Hello everyone! Today, I am on Studio Katia blog, sharing a pretty floral card using the Lovely Blooms stamp set and Heart-Fetti stencil. 


I started by stamping the image using versamark ink onto a Bristol paper and embossed it using white embossing powder. I then colored it using zig clean color real brush markers. Once dry, I fussy cut it. For the background, I took a piece of white mat layer and applied spun sugar distress ink through the heart stencil. I then flicked some gold splatters. Stamp and emboss the sentiment onto a black stripe and adhere to the floral image. Adhere the image to the mat layer using 3D foam. Adhere this panel to a pink cardbase. 
 

To finish, I added some satin rainbow confetti. Thank you for dropping by! Have a nice crafty day!

Triangle Tray

Studio Katia Glue

Wednesday, July 10, 2019

Heffy Doodle New Release Blog Hop

Hello everyone and welcome to the Heffy Doodle new release blog hop. We have lots of GORGEOUS products in this release so make sure to check them out :) You will see me use this release a lot because of it's versatility!


You should have come here from the talented Ali Farmer's blog.
 
For my 1st. card, I used the Absotoothly Awesome Stamp and die, Stitched Star Dies, Star Swirl Stencil. I started by die-cutting a square mat layer. I then applied some distress inks using the life changer brushes. I then applied more ink through the stencil. Now, I die-cut a star window to create the shaker element. I adhered vellum behind the opening. Stamp, color and die-cut the images. Stamp and emboss the word Fairy, stamped the rest of the sentiment and assembled the card together.


For the 2nd. card I used the  Absotoothly Awesome Stamp and die, Fairy word die, Cloudy Skies Stencil, Sprinkled with Fun Stencil and the Stitched Rectangle dies.  I applied some ink using the cloud stencils. You will love this stencil. I then applied inks through the sprinkled stencil and then applied deco gel. Once dry, I used the Opal foil and run this piece through the laminator. 
Stamp, color and die-cut the image. Die-cut the word Fairy. Stamp and emboss the rest of the sentiment. Assemble everything together.


Your next stop is the wonderful Cassie Tezak's blog.

PRIZES

One lucky winner will receive a £50 voucher to the Heffy Doodle store. Leave a comment on each stop on the hop to qualify.

Winner will be announced on Friday, July 17th on the Heffy Doodle Blog.

Here is the full hop list: 

Monday, July 1, 2019

Altenew Build-A-Flower: Camellia Japonica Release Blog Hop + Giveaway

Hello and welcome everyone! I'm super delighted this morning to be a guest designer for the latest addition to Altenew's popular monthly Build a Flower release - this month we are featuring the beautiful Camellia Japonica.
In addition to giveaways featured on the Altenew Card Blog and Altenew Scrapbook Blog, Altenew has provided a separate giveaway for one of my readers, yay! :)

Now a little bit info about this beautiful set: 

https://shareasale.com/r.cfm?b=888816&u=1051809&m=66850&urllink=altenew%2Ecom%2Fproducts%2Fbuild%2Da%2Dflower%2Dcamellia%2Djaponica&afftrack=

The Build-A-Flower: Camellia Japonica set includes a 6x8 stamp set and a coordinating die set (3 dies).

This set contains a beautiful multi-layered Camellia along with leaves. You may stamp these flowers in any of the Altenew ink colors to get great results! It comes in the Camellia Japonica Bundle with inks as well (5% discount)
There is a monthly subscription plan for our Build-A-Flower set too. When signed up, you are guaranteed a spot in our monthly BAF releases and will receive a set each month - at a specially discounted price! ($35.00 →$29.99) 
https://shareasale.com/r.cfm?b=888816&u=1051809&m=66850&urllink=altenew%2Ecom%2Fproducts%2Fbuild%2Da%2Dflower%2Dcamellia%2Djaponica%2Dink%2Dbundle&afftrack=
 Here is the layering guide to get a gorgeous layered flower and leaves.

You should have come here from
Maryam Perez's blog. If not start from the beginning at Altenew Card Blog.  
Today, I've got 2 cards for you.
For my first card, I started by sponging some blue ink to the mat layer. I then applied Embossing Paste through the Broken Chevrons Stencil. I then stamped the flowers and leaves usinmg the GORGEOUS layering stamps. I used the Warm Gray, Warm and Cozy, Tea Party ink sets. I then stamped the sentiment from the Label Love stamp set using black ink.

To finish I adhered some Sparkling Crystals from Studio Katia.
For my next card, I went for no-line watercolor look using all the layers. I stamped the base layer using antique linen distress ink onto watercolor paper and then went over it using daniel Smith watercolors. I then stamped each layer and went over it with my watercolors.


To finish, I stamped the sentiment using black ink.


Prizes:

To celebrate this release, Altenew is giving away a $30 gift certificate to 6 lucky winners! Please leave a comment on the Altenew Card Blog and/or Altenew Scrapbook Blog for a chance to win.

Altenew will also draw a winner to receive a $15 gift certificate from the comments left on each designer’s blog on the blog hop list below. All winners will be announced on the Altenew blogs on 7/7/2019.
The next stop on the hop is the talented  Zsoka Marko.

Studio Katia: Happy Birthday

Hello everyone! Today I am on the Studio Katia Blog sharing a no-line water coloring technique using this gorgeous Kind Bouquete stamp. 


I started by stamping the image using Antique Linen distress ink onto my watercolor panel. I then colored in the image using watercolors. I love roses and this image has pretty florals :) Once my panel was colored, I adhered it to a pink cardbase.
 I then stamped and embossed the sentiment onto a black cardstock and cut a stripe. Adhere to the card. To finish, I added some sequins from the pastel rainbow confetti collection. Thank you for dropping by! Have a nice crafty day!

Supplies