Tuesday, January 30, 2024

Sunny Studio - My Heart

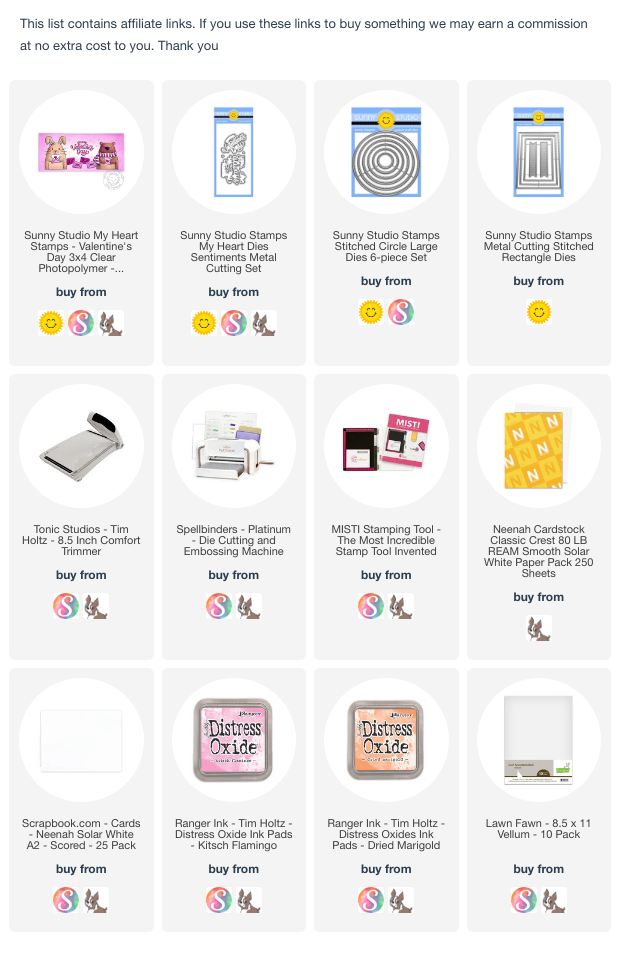
Hello everyone! today I am on Sunny Studio blog with a CAS card featuring the My Heart stamps and dies. I love the font of this stamp, so I decided to keep it as my focal image and create the background to enhance it.

I started by sponging the kitsch flamingo and dried marigold distress inks onto a white panel. Stamp the hearts in two sizes from the My Heart stamp set. Die-cut this panel using the Stitched Rectangle die. Adhere to a white card. Flick some clear iridescent watercolor.

Stamp the sentiment using black ink, die-cut using the coordinating dies. I die-cut the sentiment 3 more times using white card and stacked it behind the sentiment. Die-cut a vellum circle using the Stitched Circle Large die. Adhere the sentiment to the vellum and attach it to the card. 

Thank you for dropping by and have a nice day!

Monday, January 29, 2024

Pinkfresh Studio - Hello Friend Card

Hello Pinkfresh Studio friends!

You might all have enjoyed the January 2024 release and hopped along with us for the blog hop and Instagram hop. There are tons of amazing prizes to win along with gorgeous inspiration, so do check them

I am on the Pinkfresh Blog today and I decided to make cards for friends, so here is one I am going to share with you today. I used the new Beautiful Day stamps/dies/stencils and the Julieta Alpha die-cuts.


For the front panel, I sponged Ocean Breeze, Aquamarine, Mermaid Cove and Tidal Pool inks to create an ombré effect. Next stamp the image from the Beautiful Day stamp using Detail Black ink onto a white panel. To add color, I used inks and Blender Brushes through the Beautiful Day stencils. I made two panels of this.

Leaves - Grassy Knoll, Key Lime

Flowers - Teal (Ocean Breeze, Mermaid Cove), Pink (Soft Lilac, Regal Kiss, Ballet Slipper)

Buds - Lemon Whip, Sweet Mustard


Die-cut the images using the Beautiful Day dies. Adhere to the card using 3D foam.

Die-cut the word HELLO using the Julieta Alpha dies twice. Once using white cardstock and also using the Magenta Glitter Cardstock. Adhere the glitter cuts behind the white slightly off-set. If you want to try the various colors, there is an option for a Color Sampler pack too. 


Stamp the word FRIEND using versamark ink onto black card, sprinkle opaque white embossing powder and heat set. Die-cut the work. Adhere these to the card using 3d foam. 


To finish, I added some Leaf Clear Drops with the help of Dual Tip Embellishment tool.

Thank you for dropping by and have a nice day!

Friday, January 26, 2024

Pinkfresh Studio January 2024 Stamp, Die, Stencil, and Hot Foil Release

Hello everyone! I am so excited to join the Pinkfresh Studio January 2024 Stamp/ Die/ Stencil and Hot Foil Release. This release is jam packed with versatile GORGEOUS products for everyone's' liking.


This release is very special to me as it's my first release as the team member AND I have my first illustration turned into a stamp with Pinkfresh Studio. This was a dream of mine for a long time, THANK YOU Kinnari for making my dream come true. I still can't believe it :)

The stamp set is "Heart of Gold" with coordinating stencils and dies and I am going to share a few cards using various techniques.

Card 1
I used the stamp and die along with the Folk Edge rectangles die and Blush Glitter drops.

This image is perfect for easy coloring using various mediums. I chose the new (will be released soon) liquid watercolors for this card.


Card 2
I used the stamp, dies and the stencils for this card along with the new Julieta Alpha. The word "friend" is from the new Beautiful Day stamp set. I also used the Folk Art circle die, Aqua glitter paper and some Enchanted Forest ombrè glitter drops.


Card 3
For the last card, I decided to go CAS mixed media style and I want to share that we can use the stamp differently than its intended, I cut the stamp from various places and created the collage as per my liking. I used Folk Edge circles dies and Glacier glitter CS.


I hope you found some inspiration. Thank you for dropping by!

GIVEAWAYS:

-Pinkfresh Studio will be giving away the full release on the Pinkfresh blog & YouTube channel.
as well as a total of TEN $25 gift cards along the hop. The winners will be picked from the comments.

Pinkfresh Studio will pull the winners & post them on February 5, 2024 on their website GIVEAWAY PAGE. Don't forget to check that page & claim their prize within 2 weeks.

Here is a link to the complete hop list:

Supplies Used:

Friday, January 12, 2024

Pinkfresh Studio - Press Plates Three Ways

 Hello crafty friends. I am so honored and excited to be joining the Pinkfresh Studio team. I am sure by now you have the GORGEOUS press plates from the December release on your crafty desk.

I decided to share three ways to use them and for someone who doesn't own a Betterpress Letterpress system yet, don't shy away from getting your hands on the press plates as you can use them with your manual die-cutting machine too.


I started by creating the background wash using the Pinkfresh watercolor paper and inks (these will be available soon), let it dry. Now use the Ornate Trellis press plate as you would while embossing with a die. Run it through the die-cutting machine and we have a beautiful embossed background.

Next, I used the Floral Octagon Frame plate, inked with Pinkfresh detail black ink and took the impression onto the watercolor paper. Die-cut this using the coordinating cuts. I then, cut this into four pieces and adhered to the corners of the panel using 3d foam. 

The 3rd. way to use the press plate is with the hot foil machine. So for the sentiment, I used the Favorite Things sentiment, foiled and die-cut using the coordinating cuts.

Die-cut the leaf cluster from vellum and the Glacier Glitter cardstock using the Curvy Leaves dies. Assemble everything together. To finish I added Enchanted Forest Ombré Glitter Drops. 


Thank you for stopping by and I hope this card gave you ideas on using the press plates even if you don't have the system yet.