Thursday, February 29, 2024

Pinkfresh Studio - You Are Brilliant

Hello friends! I am on the Pinkfresh Studio blog, sharing how versatile the products are and how we can combine some new and older products to create a fun layered card.

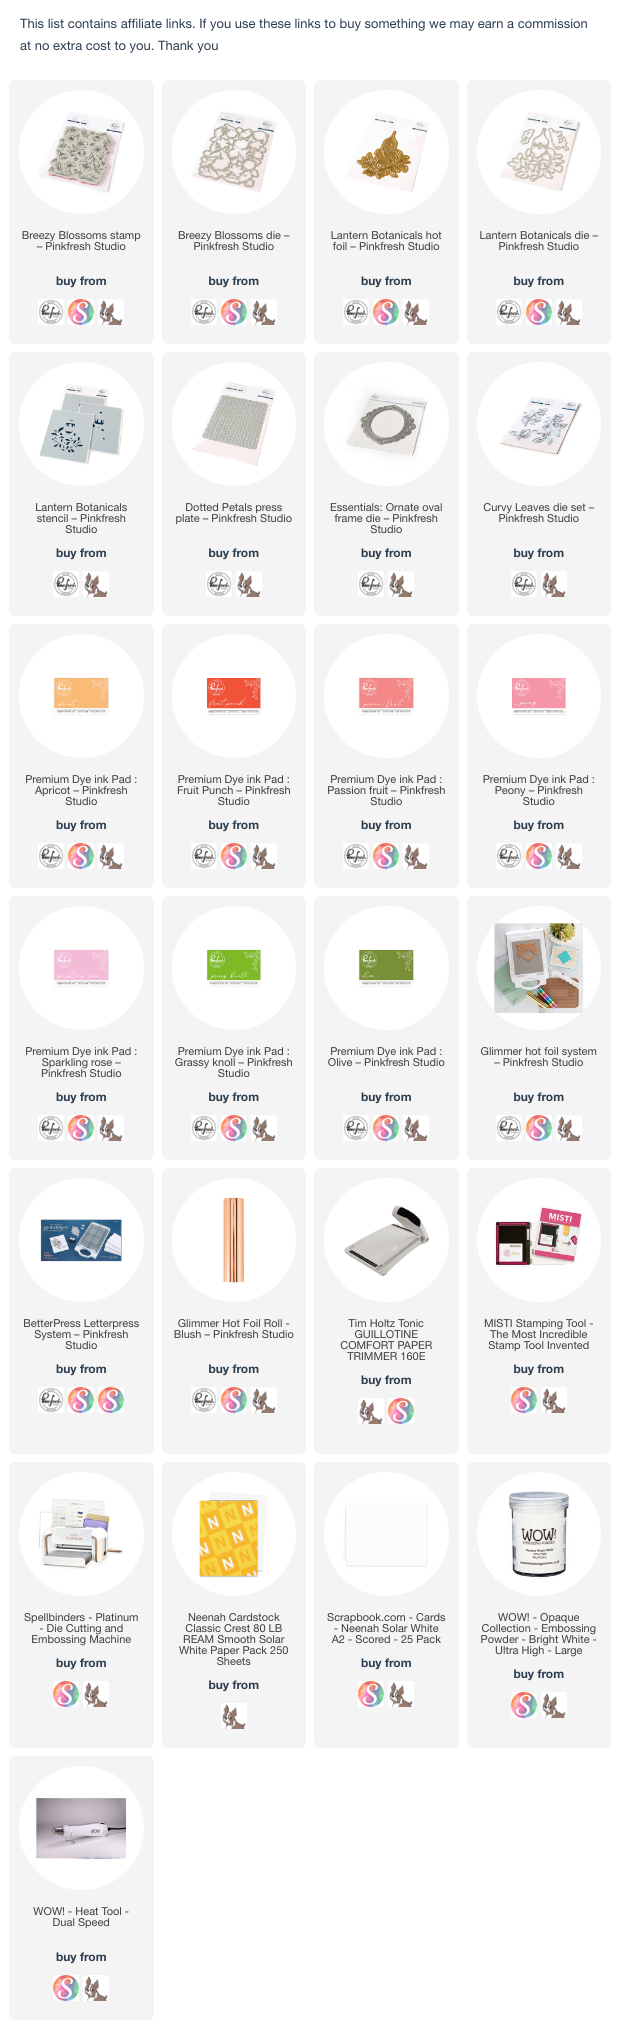
I used the Lantern Botanicals Foil Plates, dies and the stencils, Breezy Blossoms Stamp and dies, Dotted Petals press plate from the new release and Ornate Oval Frame, Curvy Leaves from the older releases.


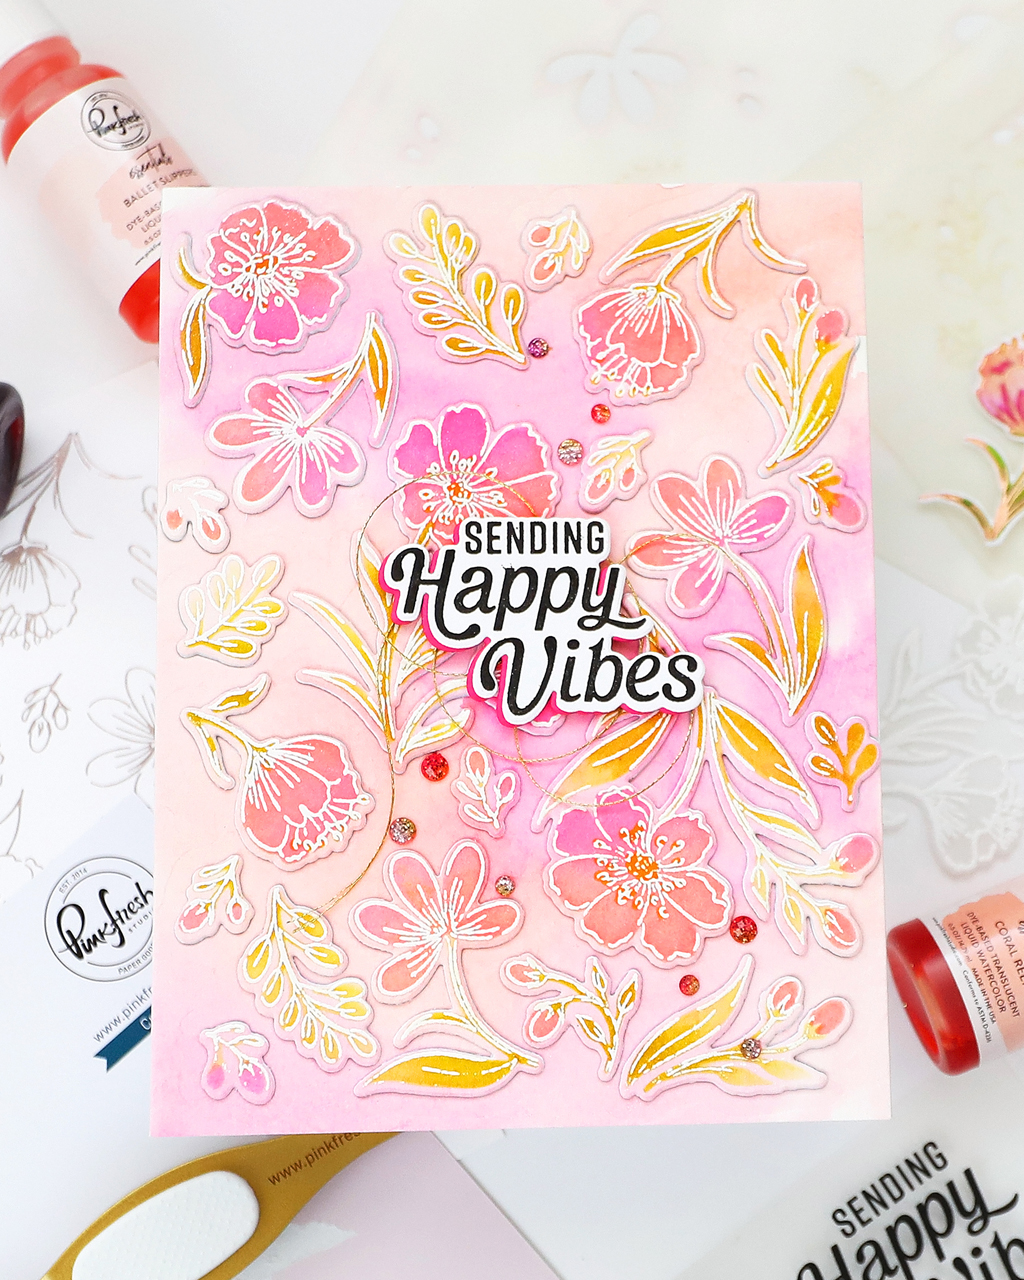
I started by adding a watercolor wash using some of the Pinkfresh watercolors (will be releasing soon). Next I used the press plate without inking to get a pretty impression. Flick some gold watercolor to this panel and adhere to a coral cardbase.

I then die-cut the Ornate Oval frame and adhere it to the card using 3d foam.
 

Foil the beautiful image from the Lantern Botanicals foil plate. Sponge inks using the stencils. I used the Grassy Knoll, Olive, Sparkling Rose, Peony and Apricot inks. Die-cut the image using the coordinating dies. 
 

Next, I stamped the Breezy Blossoms onto vellum using watermark ink, sprinkle opaque white embossing powder and heat set. I then added a touch of color using copic markers.

Next, die-cut the leaves from the Curvy Leaves using vellum, add color with copic marker. Assemble the arrangement using 3d foam for extra dimension and interest.


Tie a gold floss to the top. Stamp the sentiment using Passion Fruit and Fruit Punch inks, die-cut. Die-cut one more piece using gold card and adhere behind the sentiment in a slight offset. Adhere to the card.

Thank you for dropping by and have a nice day!

Monday, February 26, 2024

Pinkfresh Studio February 2024 “Pure Joy” Release

 Hello everyone! I am so excited to join the Pinkfresh Studio February 2024 "Pure Joy" release. This release is packed with stamps/dies/foil plates and press plates for everyone's liking. 

And I am so so excited to share that I have designed another stamp set "Breezy Blossoms" which I am going to share with you today. This product suite has stamp, die, stencil and press plate. Thank you Kinnari for the opportunity :)

I have two card for today to show the versatility of this background stamp. 

Card 1: Here I am sharing how the stamp is designed. I created the watercolor background using the Pinkfresh watercolors and Pinkfresh watercolor paper (both will be releasing soon). Let it dry and then stamp the image using versamark ink, sprinkle WOW! opaque white embossing powder. 

Next, I used the coordinating stencils and sponged some inks to add more color to the images. I used coral reef, mimosa, bubble gum and bay leaf inks. Next die-cut the images using the coordinating dies. Adhere the negative panel to a white cardbase. 

I then, die-cut the images three more times from white cardstock and stacked all the pieces. Now it's easy just like fitting the puzzle pieces. The dimension looks so pretty.

I used the sentiment from the Happy Vibes stamp set, I used the coordinating dies to die-cut another piece from pink card and adhere behind the sentiment slightly off set. Add a bit of glod floss and adhere the sentiment.

To finish, I added some pixie dust ombre glitter drops.

For the second card, I went with a CAS rainbow theme look. Stamp the image onto vellum, sprinkle white embossing powder and heat set. Die-cut the images using the dies.


I used the Stippled pressplate to add the texture to a white background. I then masked the edges and sponged inks in rainbow theme to the center. The inks I used are grassy knoll, waterfall, summer shower, sparkling rose, sunkissed, sweet mustard. 

Create a cluster of the die-cut florals and leaves. Stamp the sentiment from the Garden Tapestry stamp set, die-cut it using the dies. Die-cut the sentiment piece two more times from back card. Adhere behind the sentiment and add to the card. 

To finish, I added some clear drops: Ice Thank you for dropping by and have a nice day!

GIVEAWAYS:
Pinkfresh Studio will be giving away the full release on the Pinkfresh blog & YouTube channel.
As well as a total of TEN $25 gift cards along the hop. As per usual with blog hops - the winners will be picked from the comments.
Pinkfresh Studio will pull the winners & post them on March 5, 2024 on their GIVEAWAY PAGE. Don't forget to check that page & claim your prize within 2 weeks. 
 
Here is the link to complete HOP list


Monday, February 12, 2024

Pinkfresh - You Are Amazing

Hello everyone! I am on Pinkfresh Studio blog today with a fun card. I got inspired by the Sweet Blossoms dies and stencils today. These remind me of the whimsical floral garden with lots of florals. These dies have so many pretty details and the stencils make coloring easy and quick.


I started by sponging inks through the stencils for the florals and leaves. I used these inks (Coral Reef, Candy Apple, Ballet Slipper, Bubble Gum, Raspberry Bliss, Passion Fruit, Berrylicious, Marigold, Sweet Mustard, Key Lime, Olive, Paradise, Turquoise, Atlantis, Summer Shower, Seaside, Stargazer)

I then layered the petals and the flower center. Adhered the flowers to the stems. Next, I took Summer Shower and Seaside inks to sponge a white panel for an ombré look. Flick some Seaside ink to create tiny splatters for added interest.


Create a floral garden as per your liking and adhere to the panel. Add some of the smaller flowers using 3d foam for various dimensional look. Flick tiny splatters of gold ink.


Adhere this panel to a brown cardstock. I used the gold foiled sentiment from the Best Wishes cardstock stickers.


To finish, add some Ice clear drops. Hope you try these new dies and stencil combo, it's fun to work with.

Thank you for dropping by and have a nice day!

Tuesday, February 6, 2024

Sunny Studio - You're Special

Hello everyone! Isha here today with yet another CAS card featuring the Bighearted Bears stamps and dies. CAS cards don't have to be one layer cards, they just need to have more white space and can tell a whole story with minimal things.I went for a soft pastel look as I am ready for spring and these colors are so close to my heart. The adorable images and the sentiment make this card so special :)
 

I started by sponging kitsch flamingo, squeezed lemonade and salvaged patina distress oxide inks to a white panel. Flick some water and white paint to it.

Die-cut the arc onto a white card panel using the Stitched Arc dies. Adhere it to the inked panel using 3d foam. 


Stamp the images from the Bighearted Bears stamps, color using copic markers and die-cut using the coordinating dies. Adhere to the card and stamp the sentiment. 

To finish, I added some chunky glitter all over the inked panel. Thank you for dropping by and have a nice day!