Hello Everyone! I am so excited to
be part of today’s Garden Party blog hop, hosted by Tonic Studios to help celebrate their newest release! This is a small but exciting release and the aim is to introduce new modern and bright stamp designs tailored for versatility.
I have three cards for you today using new goodies from the Garden Party release, so let’s get started with the details!
For my first card I used the pretty Flora Background stamp along with the GORGEOUS Nuvo Shimmer Powder: Lilac Waterfall. This is such a pretty powder with multi-color effect.
I stamped and embossed the background image onto watercolor paper. I then added some of the Nuvo shimmer powder and spritz a little water. Let this dry. Now, I added a light touch of blue, pink Faber-Castell watercolor marker to few of the areas of the flowers. I then added a light wash of green watercolor in the background. Now, I fussy cut the image as I wanted to create some movement to my card design. Stamp and emboss the sentiment.
These powders are so pretty in real life and have such a pretty and subtle shine...love love love.
Finally, I added some black splatters and adhered the card to a white cardbase. To finish, I added a few confetti by Studio Katia.
For my second project I used the pretty and delicate floral cluster from the Botanical Burst Stamp Set.
Since I had the Nuvo Shimmer out and that I really love this color, I started by creating a background. I added some powder to a white cardstock, spritz water and put Tim Holtz Dot Fade stencil on it. Let dry. I then Stamped and embossed the floral cluster onto vellum. Added some colors using Faber Castell Polychromos pencils. One of my go to techniques. Adhere it to the mat layer.
I stamped and embossed the sentiment and adhered it to the card. I added a bit of thread behind the sentiment stripe.
Check out the pretty shimmer.
To finish, I added some confetti from Studio Katia.
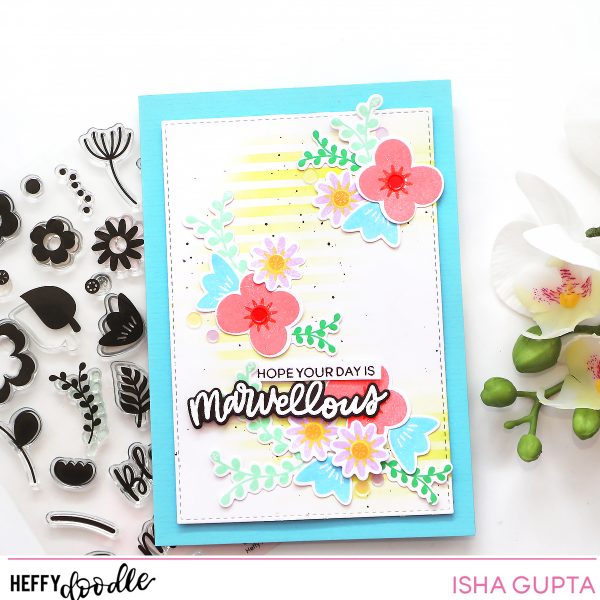
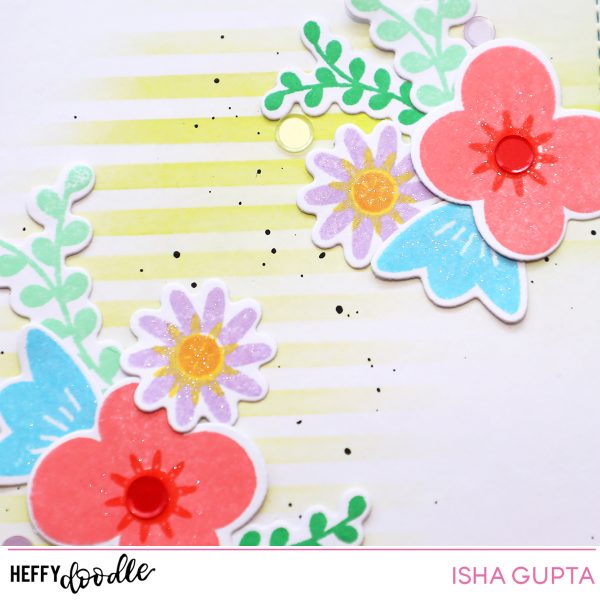
For my last card, I had to color the pretty Peonies from the Peony Bloom stamp set.If you love coloring then you are going to adore this stamp set.
I started by applying some color wash to a stripe of white cardstock and let it dry. Meanwhile, I stamped the images onto watercolor paper using Antique Linen distress ink as I wanted to do some no-line watercolor to it.
I colored the images using Faber Castell watercolor markers and fussy cut them. I adhered the stripe to a white card and added a few black and blue splatters. Adhered the flowers and stamped the sentiment.
Aren't those blooms pretty :)
GIVEAWAY:
Tonic has generously provided each stop on the hop with their own unique discount code for 15% off your total purchase!
•To receive the discount: Simply click on Tonic Studios USA for US purchases, Tonic Studios UK for UK purchases, then fill your cart, and the discount will automatically be applied at checkout! How easy and wonderful!
Other than this
Tonic Studios is giving away a £25 gift voucher to every stop in the hop.
Winners
will be chosen from the comment section and announced here on the Tonic
Blog on Wednesday, August 13 – 2019 (2:00 om GMT)
Hop order:
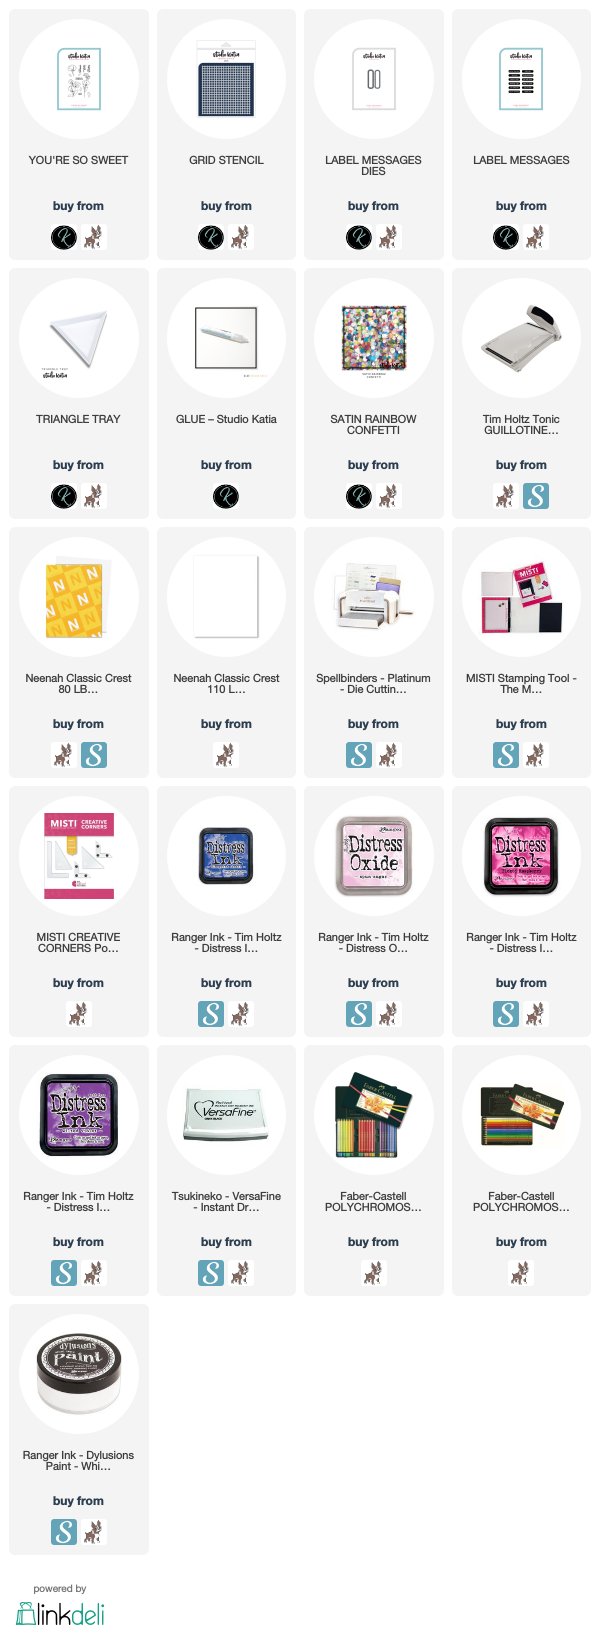
SUPPLIES
I’m listing the products I used below. Click on the link to go directly to the product. Where available I use compensated affiliate links which means if you make a purchase I receive a small commission at no extra cost to you. Thank you so much for your support!
I've used Faber-Castell Albrecht Dürer watercolor markers BUT you can use any watercolor or Tonic Aqua markers or Zig Clean Color Real Brush Markers, which I have listed below.