Friday, November 13, 2020

WOW! Embossing Powder & Paper Rose Studio Collaboration Blog Hop

Hello and welcome to the WOW! Embossing Powder New Release giveaway Hop! We are so excited to collaborate together with Paper Rose Studio on this fun filled two day event. Today is the day 1 of the hop.


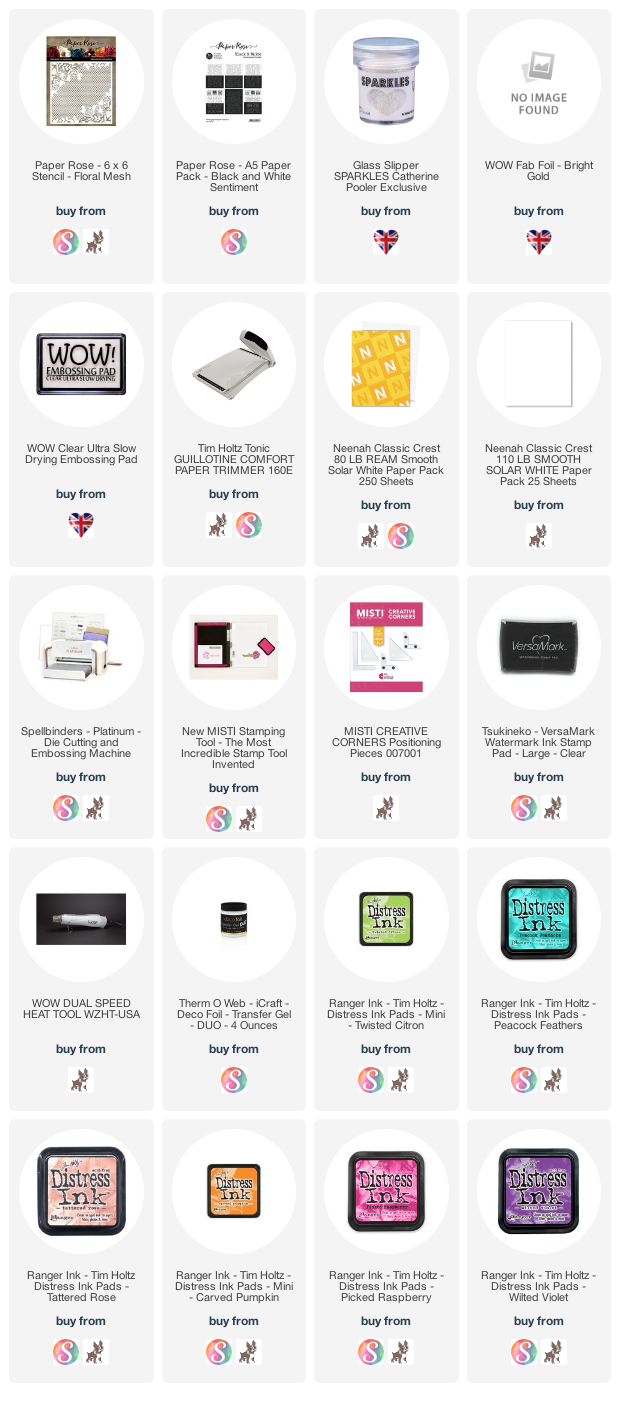
I have a mixed media card using the gorgeous embossing powder and foil by WOW! and the pretty stencil and the Sentiment sheets by Paper Rose Studio.


I started by applying some distress inks through the Floral Mesh stencil onto a white layer. Now I applied some Deco Foil transfer gel through the stencil towards the center of the panel. remove the stencil and let it dry till it turns clear. Put the gold Fab Foil onto the panel (shiny side up) put this panel into folded copy paper and run it through the laminator.

Now, put the stencil back onto the technique piece. Then, I took some translucent embossing paste and added WOW! Glass Slipper Sparkles into it and mix. I applied it through the stencil to some parts. Remove the stencil and let this piece dry.

Meanwhile, I cut a sentiment square from the Black and White sentiment sheets. Put gold foil over it and ran it through the laminator. Mat it with a lilac cardstock. Add some gold floss behind the sentiment.


To finish, add some pastel rainbow confetti by Studio Katia. 


I appreciate that you chose to stop by! Please make sure you leave a comment on each hop for your chance to win one of our $25 Gift Card from both WOW! Embossing Powder and Paper Rose Studio shops by Wednesday November 18th, this is open INTERNATIONALLY! 


To join this GIVEAWAY you must leave a comment on each blog post to have a chance at getting your hands on the prizes.


Thank you for stopping by. Have a nice day!
 

Thursday, November 12, 2020

Winter Trio Hop with Catherine Pooler, Heffy Doodle, and WOW! Embossing Powder

Hello everyone and welcome to our Winter Trio Hop with Catherine Pooler, Heffy Doodle and WOW! Embossing Powder. It was so much fun playing along as all the 3 companies have special place in my heart :)

 
 I have two cards for you today so let's start.

My first card  is a slimline card using no-line water-coloring using the CP inks. I used WOW! Midas Touch and Neutral Ultra Shimmer Embossing Powder. The stamps by Heffy Doodle and Catherine pooler work so well together. I used Heffy Doodle Elfing Christmas Words, Wanna Build a Snowman stamp and die, First Snow Stencil, Christmas Word and Slopey Joes die

 
I started by stamping the penguin images using antique linen and then colored them using the inks and also black watercolor. Stamp the house and tree images with ink, these are solid images, so I simply went over it with a damp brush for a watercolor effect.
Take a white panel, sponge the ink to create the sky. Add embossing paste through the stencil. Let dry. Flick white color. 
Die-cut the slopes, sponge ink lightly. Adhere this to the sponged panel. Now, die-cut this piece using  the slimline die. Adhere all the images to this panel. Add some snow details using WOW! Embossing pen, sprinkle neutral shimmer ep and heat set.
Finally, die-cut the word Christmas, dab with clear embossing ink, sprinkle with WOW! Midas Touch embossing powder and heat set. Adhere to the card.

 
For my 2nd. card, I simply sponged some inks to a piece of white card.
Stamp the images and die-cut. Die-cut the slopey borders, Assemble everything to the panel. I then flicked some white paint to it. Let dry. 
Now, I applied some ink using WOW! Embossing pen to the slopes and sprinkle some White Puff Twinkle ep by WOW! Heat set. Die-cut the word Christmas. Dab with clear ink, sprink with white puff twinkle ep and heat set. Adhere everything to a white card.


PRIZES AND GIVEAWAY INFO
Make sure to comment along the way for your chance to win! Both WOW! and Catherine Pooler will be giving away $25 to their respective stores and Heffy Doodle will be giving away £20 to their store!

Each company will post their random winner on Tuesday, November 17th at 10AM EST! Make sure to check the Heffy Doodle Blog, Catherine Pooler Blog and the WOW! Blog to see if you’re a winner!

LINKS

Amanda Fitterer

Emily Leiphart

Verity Biddlecombe

Cassie Trask

Melissa Andrew

Daniel Diaz

Isha Gupta (You're HERE)

Allison Cope

Jenny Colacicco

Mona Toth

Jen Carter

Ashlee McGregor

Heffy Doodle Blog

Catherine Pooler Blog

Thank you for dropping by and enjoy the hop :)

Sunday, November 1, 2020

Sunny Studio - 25 days of Christmas Tags

Hello Everyone! Today I am really excited to be joining Tracey McNeely's 25 Days of Christmas Tags! If you are new to this fun event you can check out all the details here.


I am sharing a few tags using Sunny Studio products.
I used tags from the Sliding Window dies.


For my first tag, I used the patterned paper and die-cut the tag. I then added some gold and white splatters. Die-cut the snowflakes, added gold watercolor wash and adhered to the tag. Stamp the sentiment and adhere.


For the 2nd. tag, I die-cut the tag using Subtle Grey Pattern paper. I then took the die-cut snowflake. Dabbed some versamark ink and added WOW! Midas Touch embossing powder. Heat set. Assemble everything together.


For my last tag, I simply die-cut it from white cardstock. I then sponged distress ink to it and added white and gold splatters. I stamped the berries and holly leaf, colored them using copic markers. Assemble everything together.


Don't forget to check out Tracey's blog for more details on the 25 Days of Christmas Tags event - it's super fun and there are lots of prizes up for grabs!

Thank you all for stopping by and have a great day!

Supplies:

Friday, October 30, 2020

WOW! Embossing Powder New Release Blog Hop

Hello and welcome to the WOW! Embossing Powder New Release giveaway Hop! We are so excited to show case to you our New Release collection. 
I really love the new powders, they are fresh and fun. 
 
 
I have two card for you today. 
For my first card I used the Summer Scoops Trio by Marion Emberson. I am in looove with the cheerful colors. 
 
 
I started by stamping the brushstroke pattern using Studio Katia Brush Stroke Stripes stamp set. I used Altenew Pink Diamond, Pink Pearl and Citrus Burst ink. I then took the thinner brushstroke stamp, inked with WOW! slow drying ink. Sprinkle embossing powders in coordinating colors and heat set using WOW! heat tool.
 
 
I then die-cut the rose die 3 times using white cardstock. Stack them together and adhere to the card panel. Apply spectrum noir clear sparkle. I then stamped the sentiment using clear ink and embossed it using the WOW! Opaque Bright White embossing powder.
 
For my 2nd. card, I used the GORGEOUS Toteally Amazing Trio by Marion Emberson. I applied WOW! slow drying ink to a white panel and sprinkle all the three colors of powders to cover the panel. Heat set this panel and we have our own multi color glitter paper :)

 
I die-cut the Doodled Lace Cover die using white cardstock. I then used embossing pen and added some details to the flowers. Sprinkle Iced Teal embossing powder. Heat set. Adhere this panel to the glitter panel.
Stamp the sentiment and emboss using white embossing powder.

 
Assemble everything together.

Giveaway!!!
WOW! Embossing Powders is giving away a $25 gift certificate to either their UK or USA store.
The Winners will be chosen at random from the comments left on THE BLOG POSTS by Wednesday November 4th.
To join this GIVEAWAY you must leave a comment on each blog post to have a chance at getting your hands on the prize. This hop is open internationally.
 
Thanks for dropping by!
 

Tuesday, October 13, 2020

Sunny Studio - Season's Greetings Card

Hello everyone! I am on the Sunny Studio blog  today with a fun card featuring the Window Quad Dies. I really like all the small dies it comes with to create beautiful embellishments.

I started with my card first. I took Window Quad Circle dies and die-cut the mat layer using Subtle Grey Tones paper pad. I then made a square card and sponged peacock feathers distress ink to it. Keeping it the darkest towards the center. I then marked the circle openings and stamped the pine leaves from the Classy Christmas stamp.
 

Stamp the cute penguins from the Penguin Pals stamp set, color using copic markers and die-cut using the coordinating dies. I then applied some clear ink using WOW! Embossing pen to the cap fur, sprinkle white puff embossing powder and heat set.

Adhere the mat layer to the cardbase.

Adhere the penguins. Flick white paint to get the snow effect. Stamp the sentiment from the Victorian Christmas stamp set, emboss it using white embossing powder and heat set. Cut into a stripe and adhere to the card using 3D foam.


I used Window Quad Square dies to create the tags. I die-cut the tags using the Subtle Grey pattern paper. I then die-cut the green part using the paper from the Sleek Stripes paper pack. Adhere to the tags.


I die-cut poinsettia from the Window Quad Circle dies. I die-cut two flowers using a peach cardstock and two using vellum. Sponge a little abandoned coral distress oxide ink to the center. Adhere the vellum flower onto the coral flower. I then adhered the Iridescent Pearl in the center. To finish, I added a gold and cream string to the tags.

Thank you for stopping by. Have a nice day!

Studio Katia - Glitter Birthday Card

Hello everyone!  Today I am on Studio Katia blog with a fun, sparkly birthday card using stencil. I chose some autumn colors to make it perfect for this season :)


I started by creating the background panel. I sponged distress oxide inks in wilted violet, abandoned coral, worn lipstick and scattered straw to a white layer. I then put the Confetti stencil and sponged the same colors using the blender brushes.

Now, I mixed some Sparkle glitter to translucent embossing paste and applied through the stencil. Remove the stencil and wash immediately. Let this piece dry.

I die-cut three tags using the Slider Tag die. One white, one vellum and the third using a yellow cardstock. Adhere the vellum onto the white and then adhere this to the yellow, slightly offset from the bottom part.

Stamp the cake image using the Mini Birthday Cake stamp, color using copic markers and die-cut. Apply some spectrum noir clear sparkle pen to the icing.


Adhere the tag to the mat layer. Adhere the mat layer to the card and then using a 3D foam adhere the cake image.Tie an cream and gold twine and the word enjoy.

Thank you for dropping by! Have a nice day and stay safe!

Friday, September 25, 2020

Lawn Fawn - Autumn Theme Shutter/Shaker Interactive Card

Hello everyone! Today, I have another cute and adorable interactive fall theme card using the Lawn Fawn newest interactive Shutter Die. There are so many adorable things in the Scraphouse shop in Switzerland. If you see something is not available, you can always check with Marjolein, if she can get it next time :)

I made an Autumn theme card
for the Lawn Fawn lawnfawnatics challenge 'awesome autumn' as I love the colors of Autumn and I really wanted to color these cute bears :)


I used the Lawn Fawn Cuts Shutter Die along with some of the other stamps, dies and pattern papers.
Here are some of the card photos


I sponged squeezed lemonade, picked raspberry and wilted violet distress oxide inks to create the sky. I used peeled paint distress oxide for the grass.Then I flicked some iridescent and gold watercolor to the sky part.

I used some leaf dies, added the same distress oxide inks and also some gold paint. I created a shaker element too for the inside of the interactive shutter part.


Here is a small video to see the card in action :)


Thank you for dropping by! Have a nice day!

Wednesday, September 23, 2020

Studio Katia - Wishing You Card

Hello everyone! I am on Studio Katia blog today with a CAS card using stencil. 

 
I started by creating the background. I sponged some spun sugar, worn lipstick, picked raspberry and wilted violet distress oxide inks to the white cardstock using the blender brushes. I then took the Autumn Leaves stencil and put it on the inked piece. I then applied versamark ink through the stencil. Remove the stencil and dab some perfect pearls to the piece. Die-cut the heart, adhere the positive to the white cardbase, adhere vellum on top. Now adhere the negative part of the layer to the cardbase. Stamp sentiment from the It's your Birthday stamp set onto vellum using StazOn black ink. Die-cut the word YOU from the Chunky Alphabet die four times from white cardstock. Stack them, apply some clear sparkle on it and add glossy accent. Let dry. 
 
 
Adhere the word to the heart center. To finish, add some Icy Sparkle Crystals. Thank you for dropping by! Have a nice day and stay safe!
 

Tuesday, September 22, 2020

Sunny Studio - Merry Christmas Card

 Hello everyone! I have a Christmas Card featuring all of the newest Slimline dies over on Sunny Studio blog today.

Slimline dies are very popular at the moment, so I am thrilled that Sunny Studio introduced these dies! and the best part is to have the various borders and the nature borders dies as well.

I started by die-cutting the main mat layer using the Slimline Scalloped Frame die. I sponged it using tumbled glass distress ink towards the top. I then die-cut some clouds and snow hills using the Slimline Nature Border dies. I sponged the edges of these using distress ink. Flick some iridescent watercolor, distress ink to all these panels and let dry.

I then die-cut the borders using the Slimline Borders die and colored them using copic markers to match my ornaments. Adhere to the mat layer.

Die-cut some trees from the Rustic Winter Dies. Adhere to the layer and then adhere the clouds and the snow hills. apply some stickles.

I then took Tim Holtz yupo paper and added some pearl alcohol ink, let dry. I then stamped one of the layer of the baubles using Retro Ornament stamp with versamark ink, sprinkle WOW! gold pearl embossing powder and heat emboss. Die-cut the baubles using coordinating dies.

Finally, I stamped the fir leaves using distress inks in various shades of green and peacock feathers using Classy Christmas Stamp set. Add some water using a damp brush. Die-cut using the coordinating dies.


Stamp and emboss the sentiment onto vellum. Assemble everything together.

Hope you enjoyed this project. Thank you for dropping by! Have a nice day!!

Sunday, September 20, 2020

MFT 2020 Card Design Superstar Challenge: Innovation Master Category

 Hello everyone! I am so excited, MFT is hosting the Card Design Superstar Challenge again. This is my last card for the challenge which is for the Innovation Master category. This is a 3in 1 interactive card, I created 3 interactive elements (pull tab, shutter card and shaker) 

I didn't have a pull tab die so I had to improvise a bit. I cut the slit using the x-acto knife and have used a tab die from stash.

Here is the card in action

Here is the card


I started by creating the shutter card base. Stephanie has this awesome tutorial HERE

I sponged the sky area. I then used post-it to create mask to sponge ink to create grassy hills. I then stamped all the images, colored them and die-cut. I adhered the image of the cute gnomie inside the shutter part, sprinkle some chunky glitter and adhered acetate over it.

Stamp the grass, adhere the images and the inside is finished :) The shaker is the surprise once we open the shutter :)

Now to create the pull tab, I simply cut a 1.25 inch long slit in the pattern paper, where I wanted my turtle to move. I then cut a long sleeve to use as pull function. There are few tutorials on youtube so I had to make my own measurements but it worked out beautifully. I then created the band. I adhered the Gnomie house to the band and placed on the card so when we pull the tab, we can see the turtle peeking from behind. I did add 2 more stripes of the same pattern paper to hide the slit and turtle body so when we remove the band, the card still looks clean :) You can see that in the video. Check it out how the turtle peeks through. 

I really love interactive cards and can't stop playing myself...lol. 

Have a nice day and stay safe!

Saturday, September 19, 2020

MFT 2020 Card Design Superstar Challenge: Coloring Virtuoso

Hello everyone! I am so excited, MFT is hosting the Card Design Superstar Challenge again. This is my card for the Coloring Virtuoso challenge. I love flowers, I wish I had the newest GORGEOUS florals from MFT but I found these older ones Painted Petals stamp and decided to use them. They were a bit of a challenge to color because of their layering and abstract style but I love to challenge myself and went for no-line watercolor effect :)


I used Daniel Smith watercolors to color in the images after stamping them with antique linen distress ink. Fussy cut them and created the cluster. For the sentiment I used Sweetest Somebunny stamp set, I stamped and embossed the sentiment using white embossing powder and added a touch of watercolor.
 
 
Thanks for dropping by! Have a nice weekend.

Lawn Fawn - Interactive Shutter Christmas Card

 Hello everyone! Today, I have a cute and adorable interactive card using the Lawn Fawn newest interactive Shutter Die. There are so many adorable things in the Scraphouse shop in Switzerland. If you see something is not available, you can always check with Marjolein, if she can get it next time :)

I used the Lawn Fawn Cuts Shutter Die, Shutter Card Holiday Sayings stamp, Snow Globe Scenes, along with some of the older stamps and dies. I used some of the older pattern papers but you can use any papers or stamps you like.

Here are some of the card photos


I sponged Tumbled Glass distress oxide ink and then flicked some iridescent watercolor and tumbled ink distress ink.


I added lots of stickles to the card to create snow.


Here is a small video to see the card in action :)


Have a nice day! Stay safe!