Friday, October 30, 2020

WOW! Embossing Powder New Release Blog Hop

Hello and welcome to the WOW! Embossing Powder New Release giveaway Hop! We are so excited to show case to you our New Release collection. 
I really love the new powders, they are fresh and fun. 
 
 
I have two card for you today. 
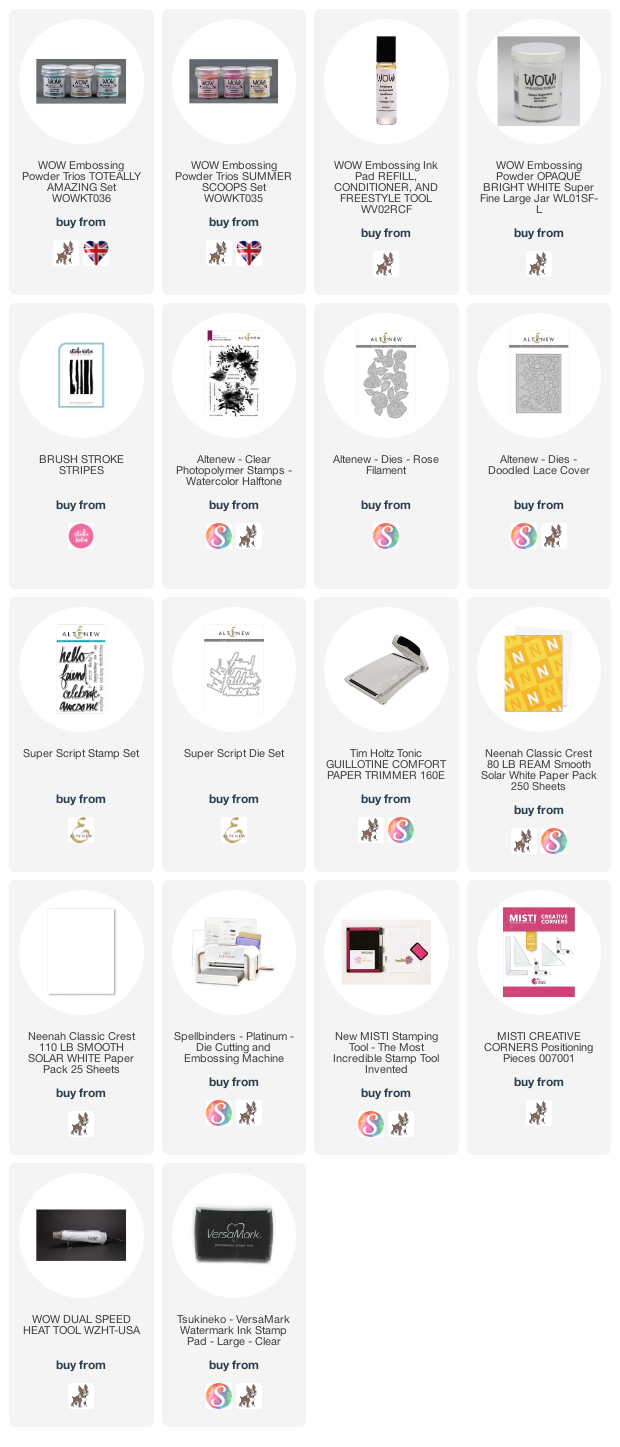
For my first card I used the Summer Scoops Trio by Marion Emberson. I am in looove with the cheerful colors. 
 
 
I started by stamping the brushstroke pattern using Studio Katia Brush Stroke Stripes stamp set. I used Altenew Pink Diamond, Pink Pearl and Citrus Burst ink. I then took the thinner brushstroke stamp, inked with WOW! slow drying ink. Sprinkle embossing powders in coordinating colors and heat set using WOW! heat tool.
 
 
I then die-cut the rose die 3 times using white cardstock. Stack them together and adhere to the card panel. Apply spectrum noir clear sparkle. I then stamped the sentiment using clear ink and embossed it using the WOW! Opaque Bright White embossing powder.
 
For my 2nd. card, I used the GORGEOUS Toteally Amazing Trio by Marion Emberson. I applied WOW! slow drying ink to a white panel and sprinkle all the three colors of powders to cover the panel. Heat set this panel and we have our own multi color glitter paper :)

 
I die-cut the Doodled Lace Cover die using white cardstock. I then used embossing pen and added some details to the flowers. Sprinkle Iced Teal embossing powder. Heat set. Adhere this panel to the glitter panel.
Stamp the sentiment and emboss using white embossing powder.

 
Assemble everything together.

Giveaway!!!
WOW! Embossing Powders is giving away a $25 gift certificate to either their UK or USA store.
The Winners will be chosen at random from the comments left on THE BLOG POSTS by Wednesday November 4th.
To join this GIVEAWAY you must leave a comment on each blog post to have a chance at getting your hands on the prize. This hop is open internationally.
 
Thanks for dropping by!
 

Tuesday, October 13, 2020

Sunny Studio - Season's Greetings Card

Hello everyone! I am on the Sunny Studio blog  today with a fun card featuring the Window Quad Dies. I really like all the small dies it comes with to create beautiful embellishments.

I started with my card first. I took Window Quad Circle dies and die-cut the mat layer using Subtle Grey Tones paper pad. I then made a square card and sponged peacock feathers distress ink to it. Keeping it the darkest towards the center. I then marked the circle openings and stamped the pine leaves from the Classy Christmas stamp.
 

Stamp the cute penguins from the Penguin Pals stamp set, color using copic markers and die-cut using the coordinating dies. I then applied some clear ink using WOW! Embossing pen to the cap fur, sprinkle white puff embossing powder and heat set.

Adhere the mat layer to the cardbase.

Adhere the penguins. Flick white paint to get the snow effect. Stamp the sentiment from the Victorian Christmas stamp set, emboss it using white embossing powder and heat set. Cut into a stripe and adhere to the card using 3D foam.


I used Window Quad Square dies to create the tags. I die-cut the tags using the Subtle Grey pattern paper. I then die-cut the green part using the paper from the Sleek Stripes paper pack. Adhere to the tags.


I die-cut poinsettia from the Window Quad Circle dies. I die-cut two flowers using a peach cardstock and two using vellum. Sponge a little abandoned coral distress oxide ink to the center. Adhere the vellum flower onto the coral flower. I then adhered the Iridescent Pearl in the center. To finish, I added a gold and cream string to the tags.

Thank you for stopping by. Have a nice day!

Studio Katia - Glitter Birthday Card

Hello everyone!  Today I am on Studio Katia blog with a fun, sparkly birthday card using stencil. I chose some autumn colors to make it perfect for this season :)


I started by creating the background panel. I sponged distress oxide inks in wilted violet, abandoned coral, worn lipstick and scattered straw to a white layer. I then put the Confetti stencil and sponged the same colors using the blender brushes.

Now, I mixed some Sparkle glitter to translucent embossing paste and applied through the stencil. Remove the stencil and wash immediately. Let this piece dry.

I die-cut three tags using the Slider Tag die. One white, one vellum and the third using a yellow cardstock. Adhere the vellum onto the white and then adhere this to the yellow, slightly offset from the bottom part.

Stamp the cake image using the Mini Birthday Cake stamp, color using copic markers and die-cut. Apply some spectrum noir clear sparkle pen to the icing.


Adhere the tag to the mat layer. Adhere the mat layer to the card and then using a 3D foam adhere the cake image.Tie an cream and gold twine and the word enjoy.

Thank you for dropping by! Have a nice day and stay safe!