Friday, July 24, 2020

Studio Katia: Wishing You Shaker Card

Hello everyone! I am sharing a fun shaker card along with how to add impression to the stamped image for extra dimension on Studio Katia blog.
 
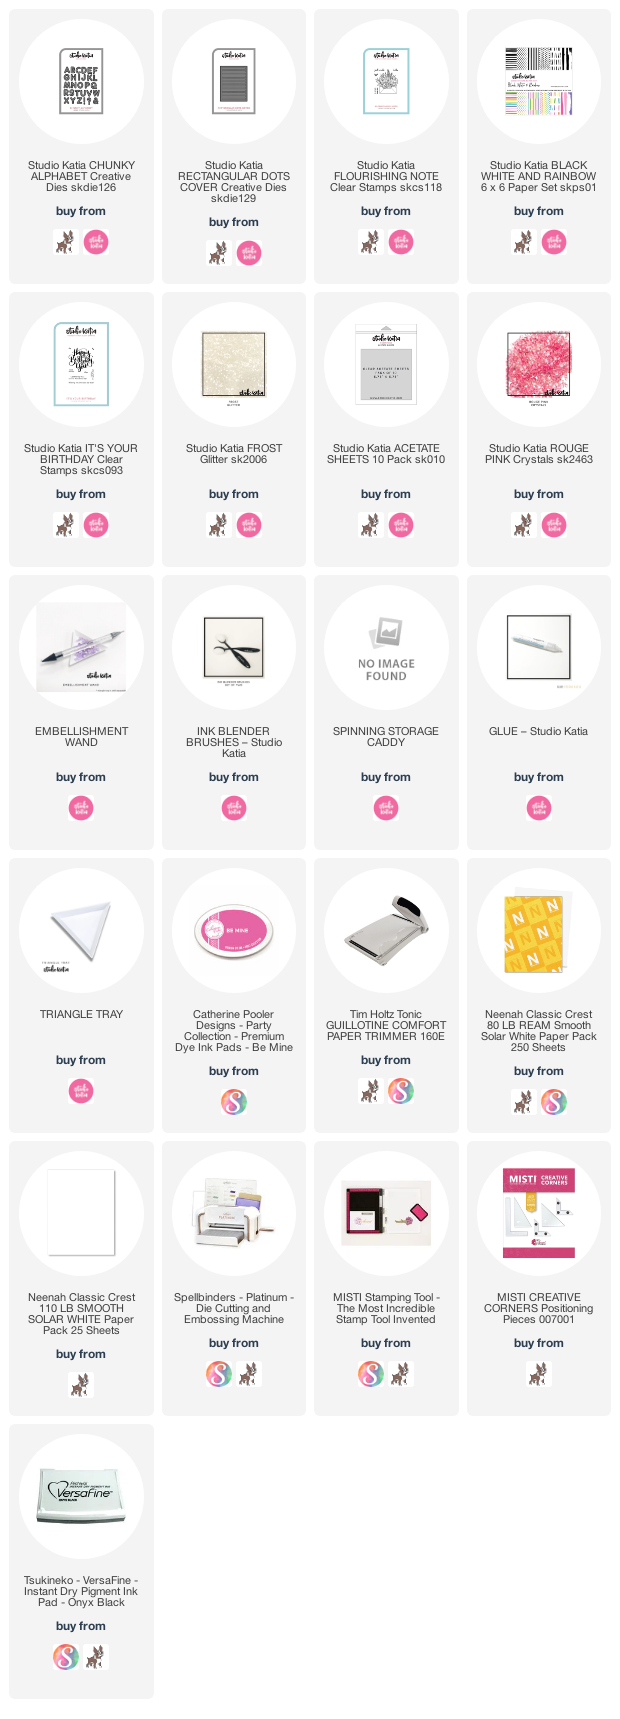
 First I stamped the image to the corners, onto my white panel using Flourishing Note stamp set. I just used the floral part of it. I then used the Rectangular Dots Cover Plate and ran it through the die-cutting machine. The dots give pretty effect to the stamped panel.


I love flat shaker card so for the shaker panel, I die-cut the letters YOU using  the new Chunky Alphabet Dies. Cut the negative piece in a stripe. I then brushed a bit of pink ink to the letters for an ombrè effect.
Adhere the main panel to a black card. Adhere the letters "YOU". Stamp sentiment from It's Your Birthday stamp set to the  stripe. Adhere a thin  stripe of b/w stripes from the Black, White & Rainbow pattern paper pad. Adhere a piece of acetate to the back of this stripe panel. Put some Frost Glitter to the YOU word and adhere the stripe panel onto it.


To finish, add some Rouge Pink Crystals.
Thank you for dropping by! Have a nice day and stay safe!
Tuesday, July 21, 2020

WOW! Embossing Powder: Wonderful Day Card

Hello Everyone! I am on WOW! Embossing Powder blog today using our July challenge theme over on facebook. I am having fun playing and experimenting with the pearl embossing powders :)
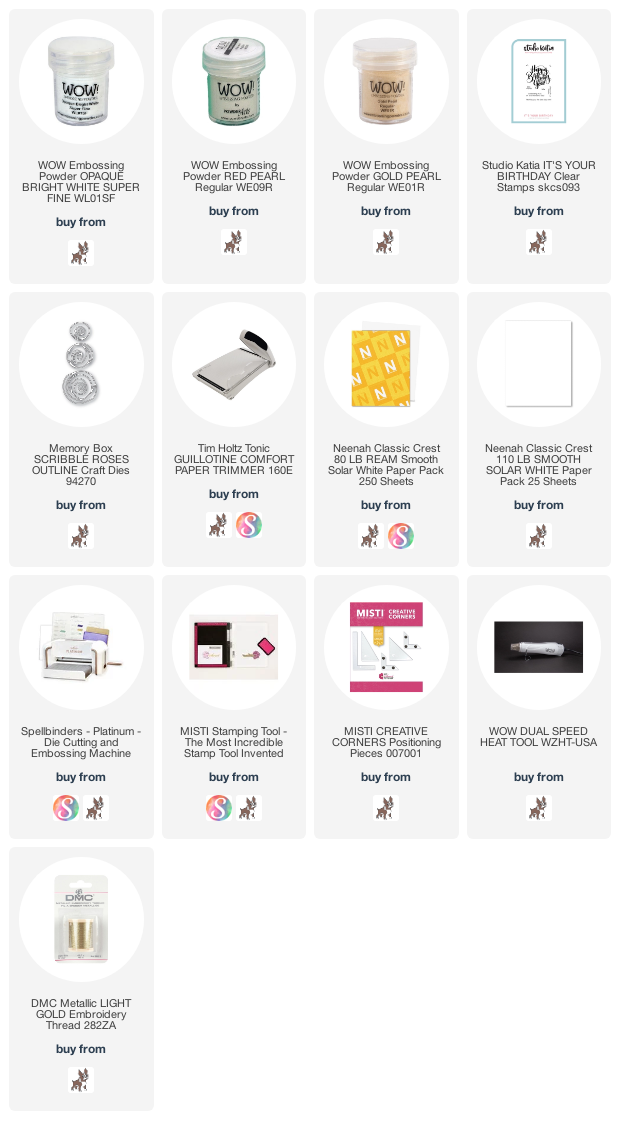
For today, I used the Red pearl and Gold Pearl embossing powders with die-cuts.


I started by die-cutting few flowers using white and also coral cardstock. I used the Scribble Posies Outline dies by Memory Box.
I then applied WOW! Slow Drying ink to a few of white and coral flowers. Applied Red Pearl embossing powder. Heat set them using WOW! Dual Heat Tool. In the similar way I embossed a couple of white flowers using Gold Pearl embossing powder.

So the red pearl turned into this beautiful shade of dark coral on coral cardstock and a pearly sheen with red tint on white paper (Just like a pearl). I also like the gold for it's soft and satin look.


I then stamped the sentiment from Studio Katia using the slow drying ink, emboss it using Opaque Bright White embossing powder.
Flick some black ink splatters and adhere the florals to the white cardbase.
Adhere some gold floss to the card and then the sentiment stripe using 3d foam.


To finish, I added some sequins from the Summer Fusion by Studio Katia.

Hope to see your creations on our facebook group :) Thank you for dropping by! Stay Safe.

Friday, July 3, 2020

Lawn Fawn - Magic Iris Interactive Card

Hello everyone! Hope you all are well and ready for the summer holidays. Today I have a fun interactive card for you using the new Magic Iris Camera add On die. I really love this die as there is so much we can do with it :)

If you are in Switzerland, The new products are available at Scraphouse SHOP.
Here is the card I made and am submitting it to the  Lawn Fawn Challenge 79 – Interactive Cards

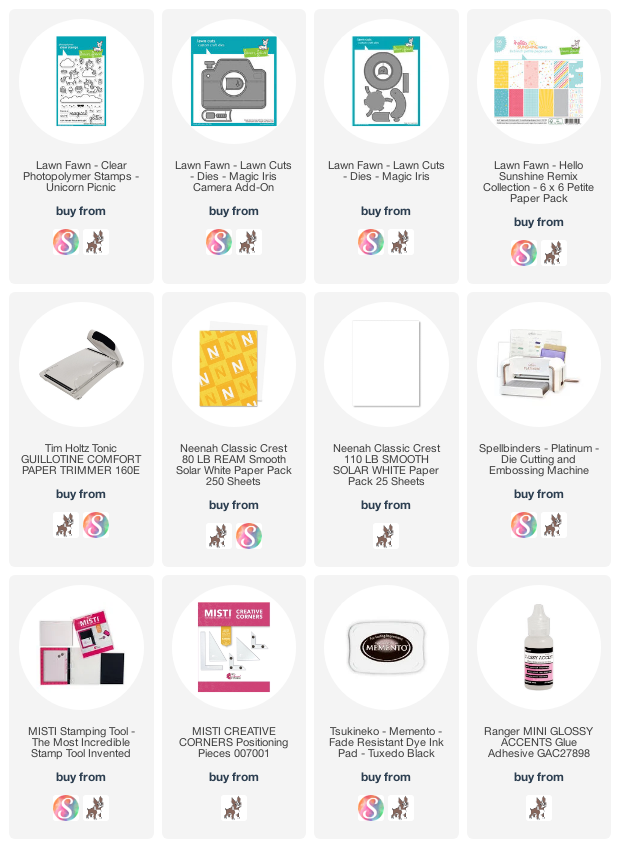
I started by covering a white cardbase with pattern paper. I then die-cut the camera  using white cardstock and then using pattern paper, yellow and teal cardstock.  Adhere as per the photo. Stamp and color the images using copic markers and apply nuvo crystal drops to the tail and manes.
Die-cut the magic iris using teal cardstock and assemble as per the instructions on Lawn Fawn You Tube channel.
I stamped the sentiment and adhered some star confetti to the center circle, which will be peek out when we open the shutter.


Use the camera to adhere the circle to the cardbase. Adhere the magic iris interactive element behind the camera and then adhere it to the card.
 
A video for you to see the card in action.


Hope you enjoyed this interactive card. Have a nice day!

Thursday, July 2, 2020

WOW! Embossing Powder - Pearl Embossing Powder Three Ways

Hello Everyone! I am on WOW! Embossing powder blog today. The July challenge is up on our facebook group and the theme is "Pearl Powders". If you've never tried them, now will be perfect time as we are going to get you lots of inspiration and techniques throughout the month.

To tell you the truth, up till now I only used Gold and White pearl powders but this challenge just opened me to whole new possibilities. I loved experimenting with various colors like the Violet, red and blues.

For today, I used the Violet Pearl embossing powder and used it in three various ways. It gives totally different result depending on the color we emboss it on.


Card 1


I created a monochromatic effect on my first card. I simply sponged distress ink in seedless preserves, wilted violet, picked raspberry and shaded lilac to create an ombrè look. Let it dry. Test it by putting a bit of powder onto it, if the powder sticks then dry a bit more. I find the setting 1 of WOW! Dual Heat tool perfect for this.

Once dry, stamp the Tropical background stamp using WOW! Slow Drying ink. Emboss using Violet pearl embossing powder. I am so happy seeing the color this powder takes due to the intensity of the color underneath.


Die-cut the word "thinking of You" from Heffy Doodle using a white cardstock. Sponge wilted violet and picked raspberry ink to it and emboss using the Violet pearl embossing powder. Die-cut the shadow of the word using vellum. Assemble everything together. To finish, add some pastel rainbow confetti by Studio Katia.

Card 2


I got intrigued by the effect of the pearl powder, so for the next card, I sponged picked raspberry, worn lipstick and squeezed lemonade distress ink. This time the colors are a bit soft after embossing. In the yellow and white part, there is a purple pearly sheen, which is really very pretty but a bit difficult to capture in a photo.


I used "Hello Shadow" die by heffy doodle, Geometrics die by Penny Black, some white silk floss and confetti to finish the card.

Card 3


Now this was totally unexpected, I stamped the image using versafine onyx black ink onto a watercolor paper, emboss it using the Violet pearl powder. Heat emboss it and the image turns dark purple GORGEOUS :)


I then added a bit of ink wash using distress inks and finished the card by using the same word die and confetti as above.

Stay safe and have a nice crafty day :)

Wednesday, July 1, 2020

Studio Katia - Hugs Shaker Card

Hello everyone! Today I am up on Studio Katia blog with a fun shaker card with no-line water color technique. I used all the products from our newest release, if you haven't checked them yet, please do. You are going to love it :) For today's card I used Black, White &Rainbow paper, Craftastic stamp and dies, Dotted Patterns set 3 dies along with Vanilla Luster fusion sequins. 

I started by creating a white card panel. I then adhered a stripe of rainbow pattern paper to the left side. I then die-cut the oval, sponged scattered straw, spun sugar and tumbled glass distress oxide to it. Adhere it to the card. I also adhered the delicate frame around the oval piece. Stamp the image onto watercolor cardstock using antique linen distress ink. I then colored the image using faber castell watercolor markers and daniel smith watercolors. Let it dry and die-cut it. Die-cut the center to create the shaker. Place the image where it will come on the card and adhere the center die-cut negative piece. Adhere a piece of acetate behind the image. Now add 3D foam all around the opening on the back side. add some sequins and adhere to the cardbase.  


Stamp the sentiment and adhere to the card. To finish, add some sequins. Thank you for dropping by!

Have a nice crafty day!